


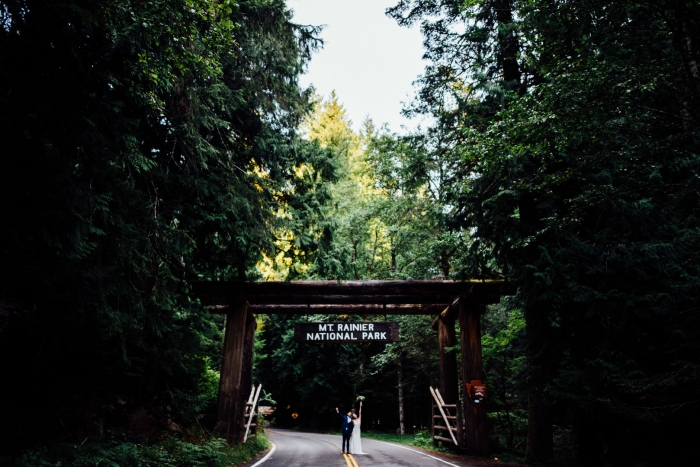
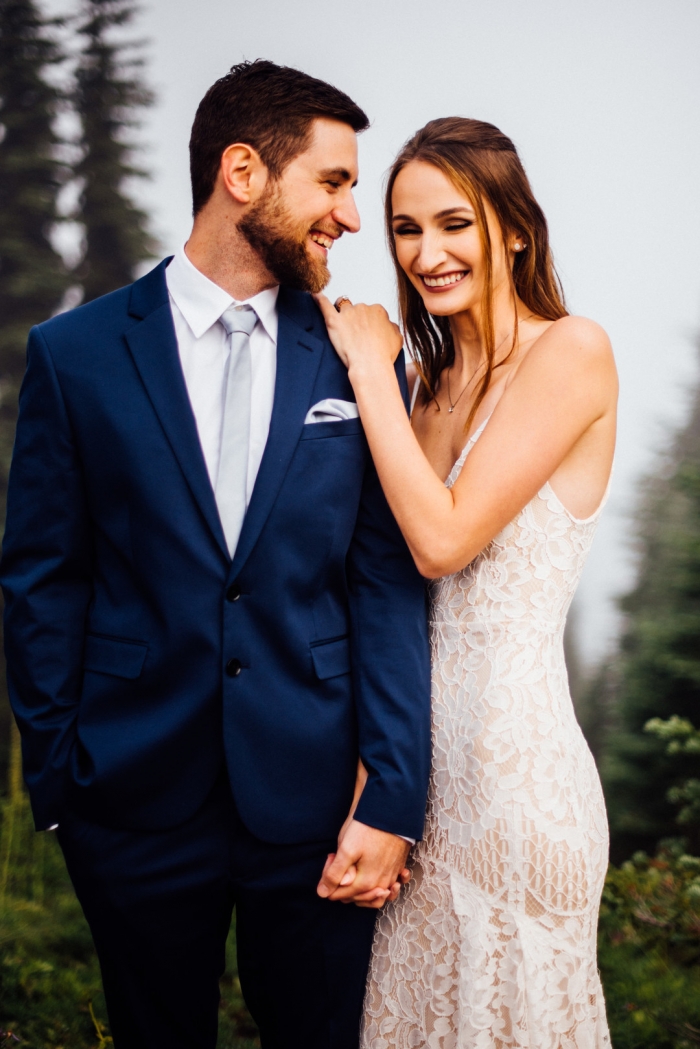
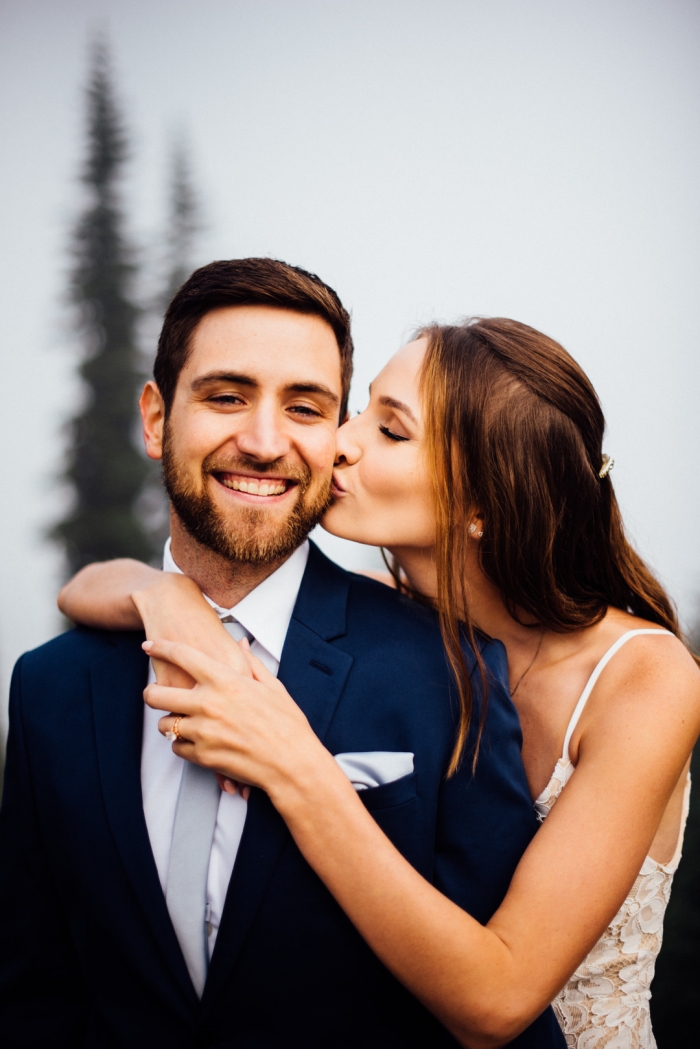
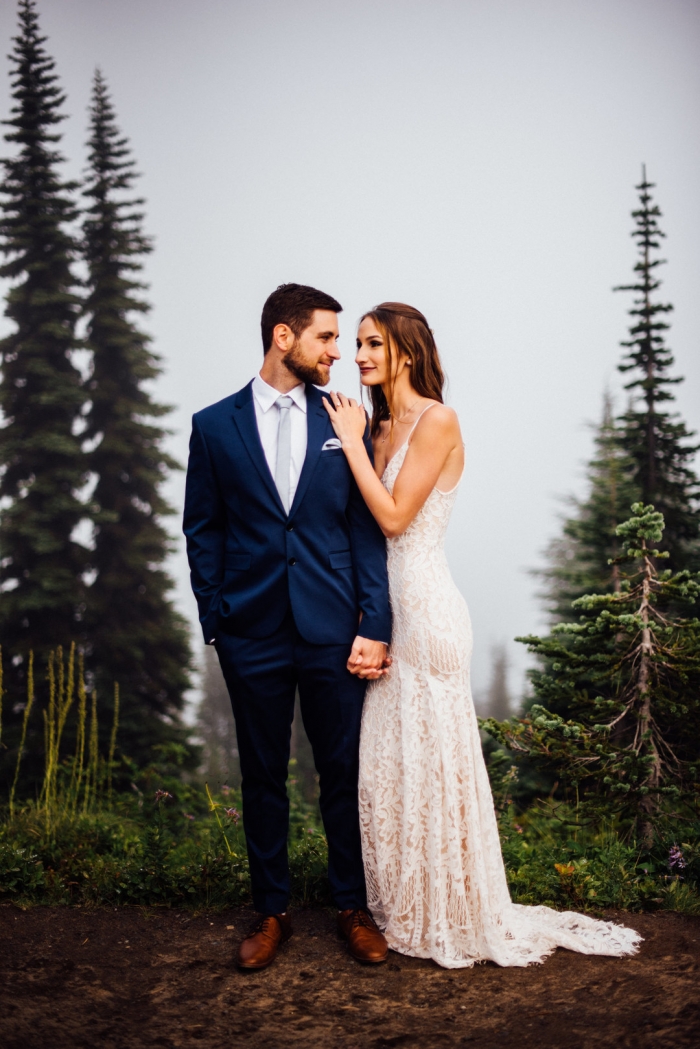
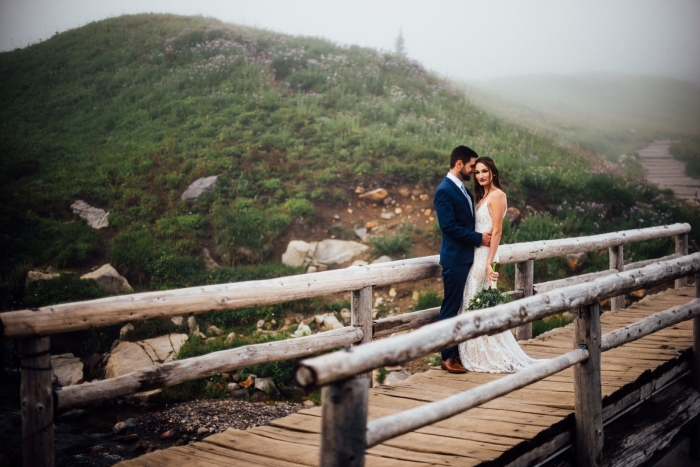
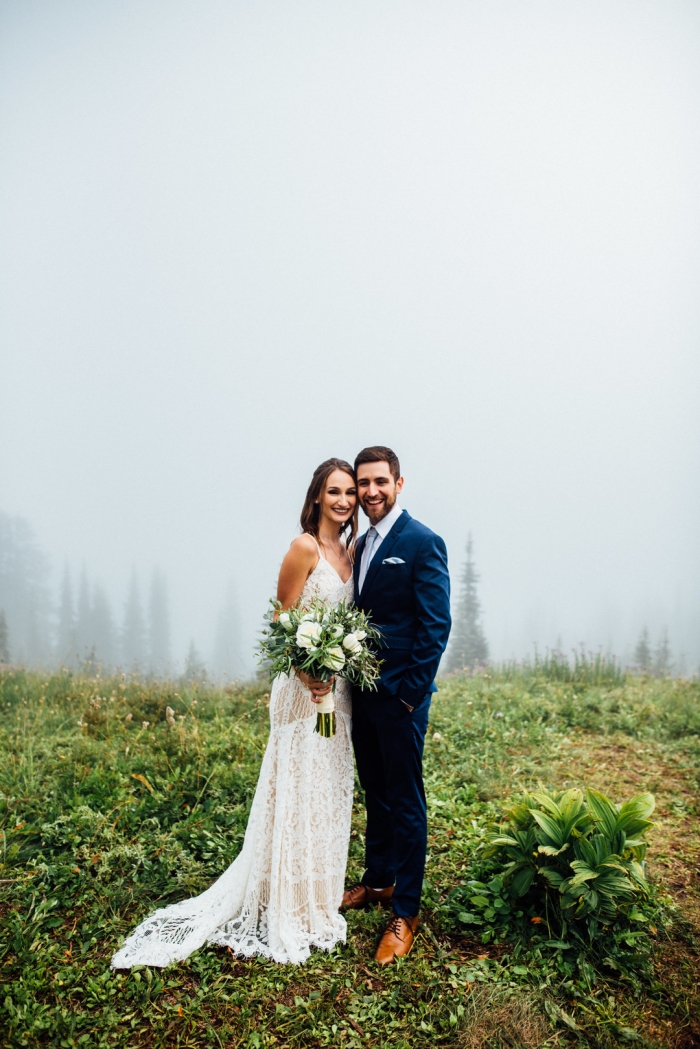
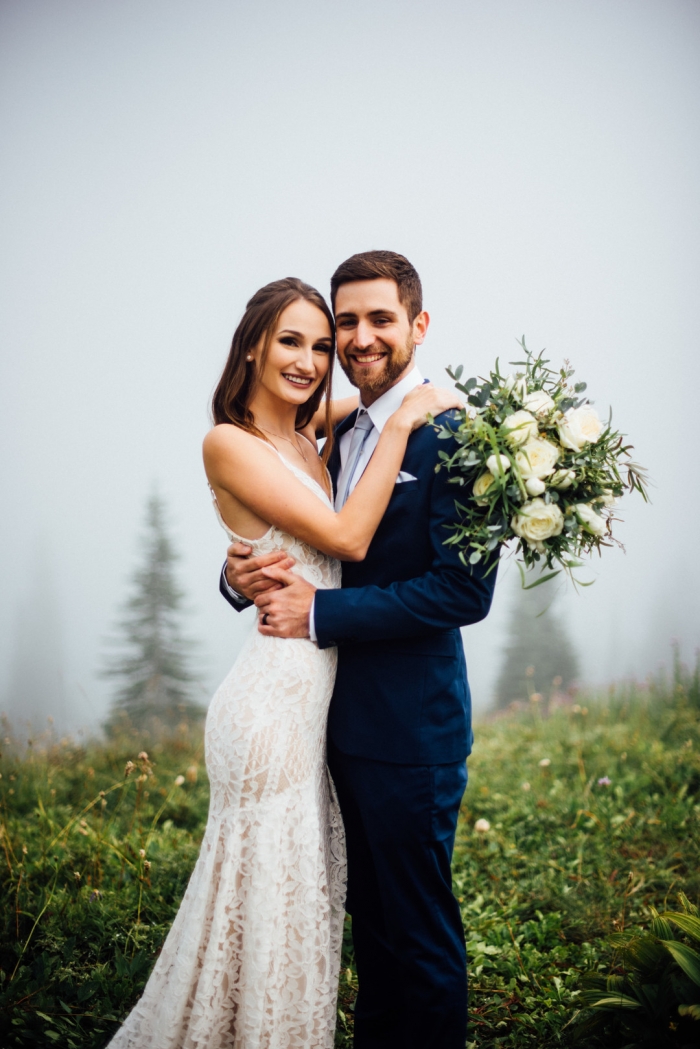
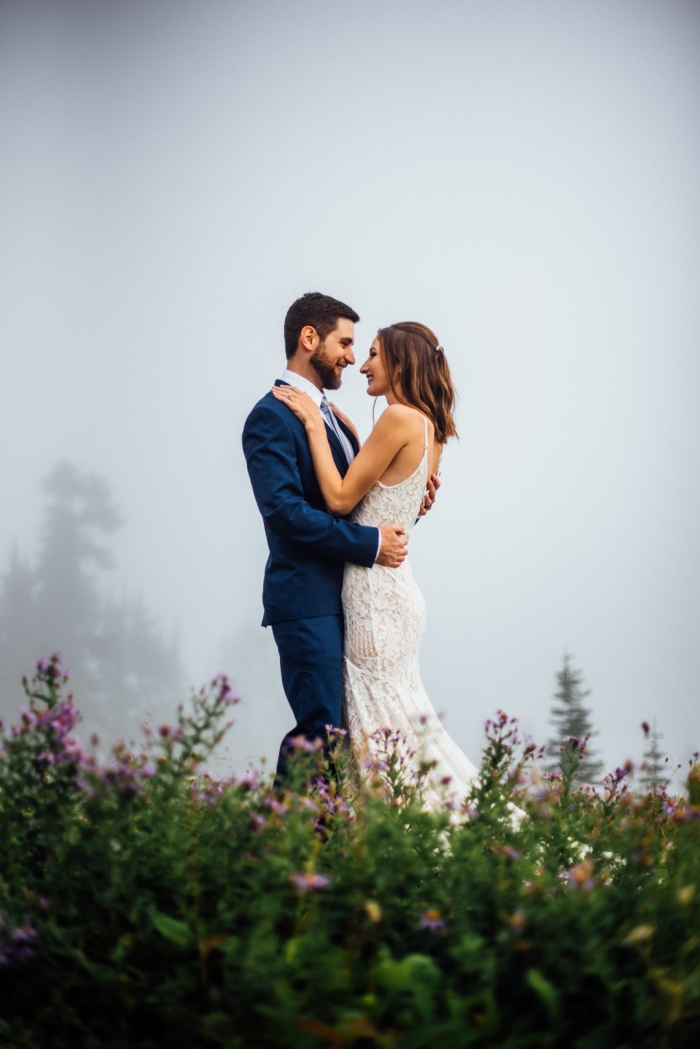
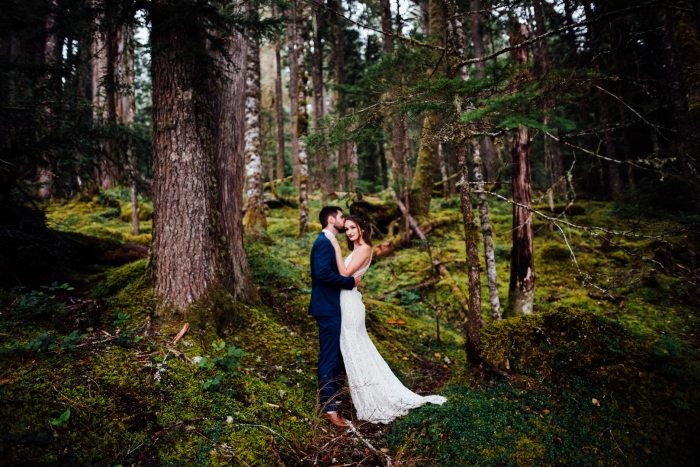
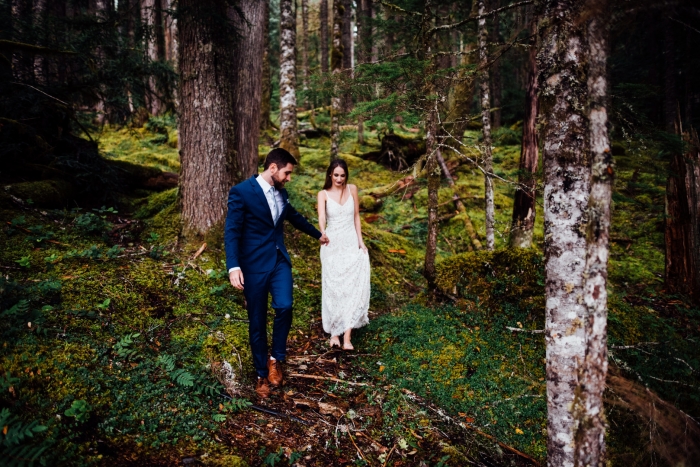
Blaire and Brendan met in college, where they became best friends and practically inseparable. They love the outdoors (especially hiking), traveling and exploring new places – which made Mt. Rainier National Park in Washington the perfect spot to say their ‘I do’s’.
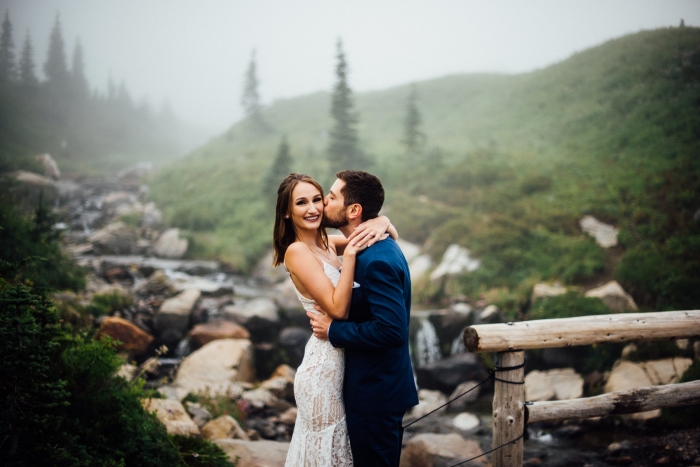
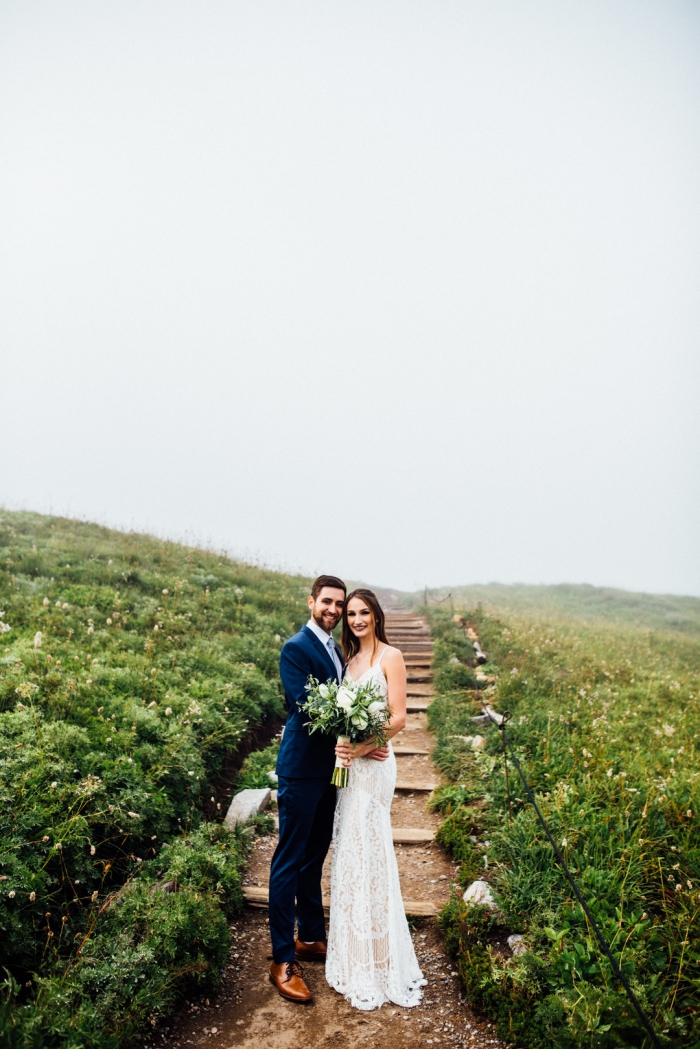
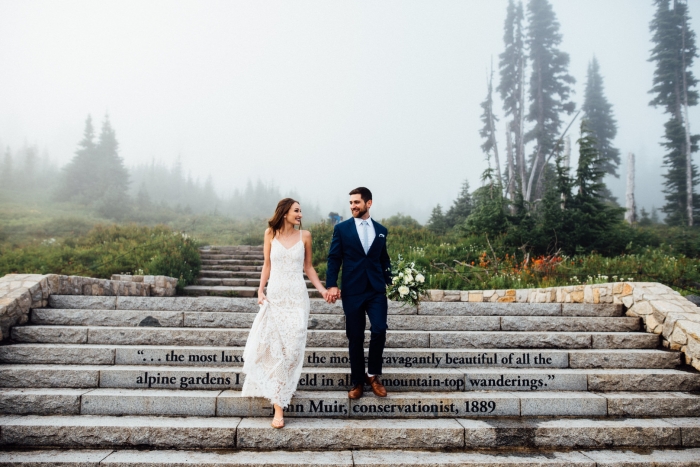
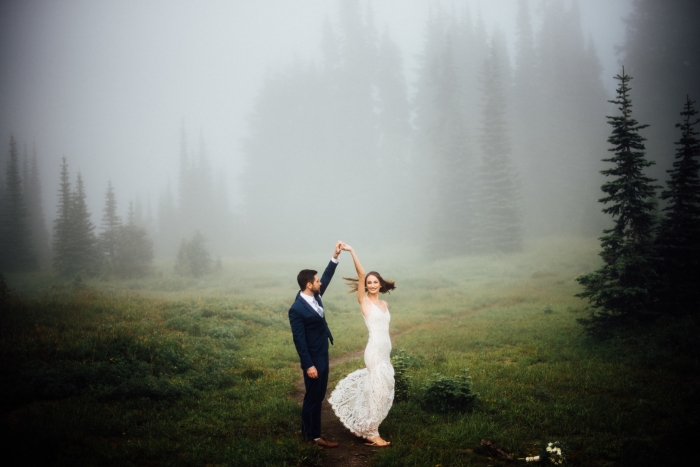
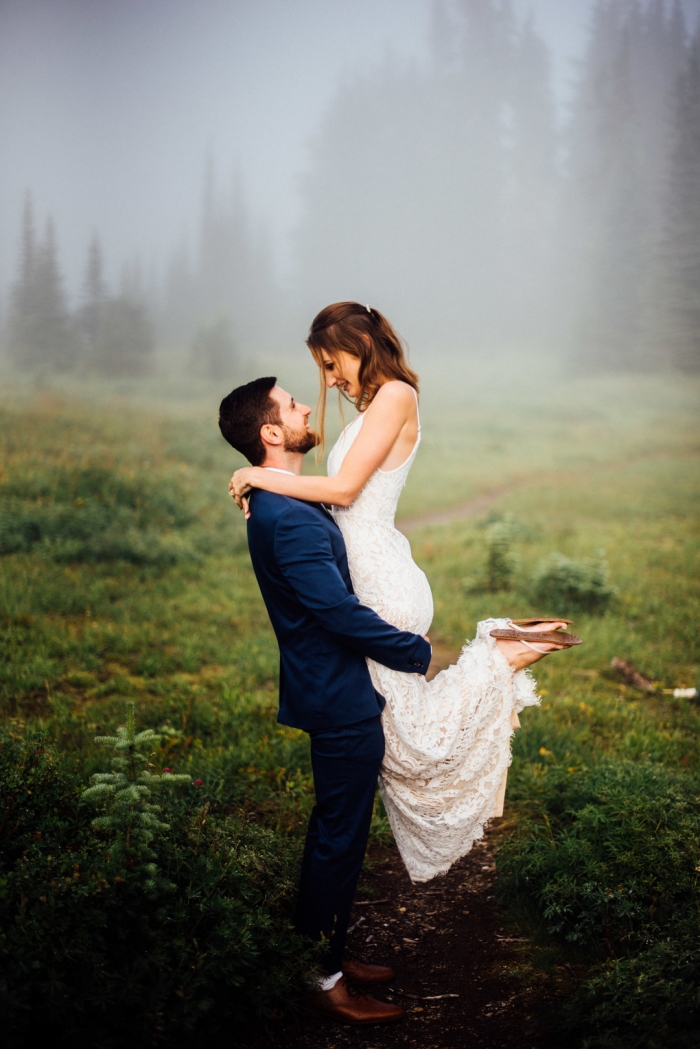
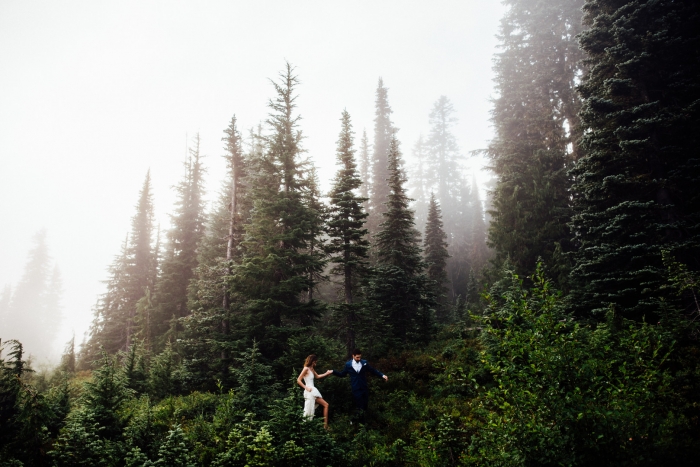
According to photographer, Rebecca Anne Photography, the couple “decided to be slightly spontaneous and travel to the Seattle area where they have never been before to elope on the top of a mountain at Paradise at Mount Rainier. They made it a mini honeymoon with hiking around Mount Rainier and then traveling to Olympic National Park to complete their adventure.”
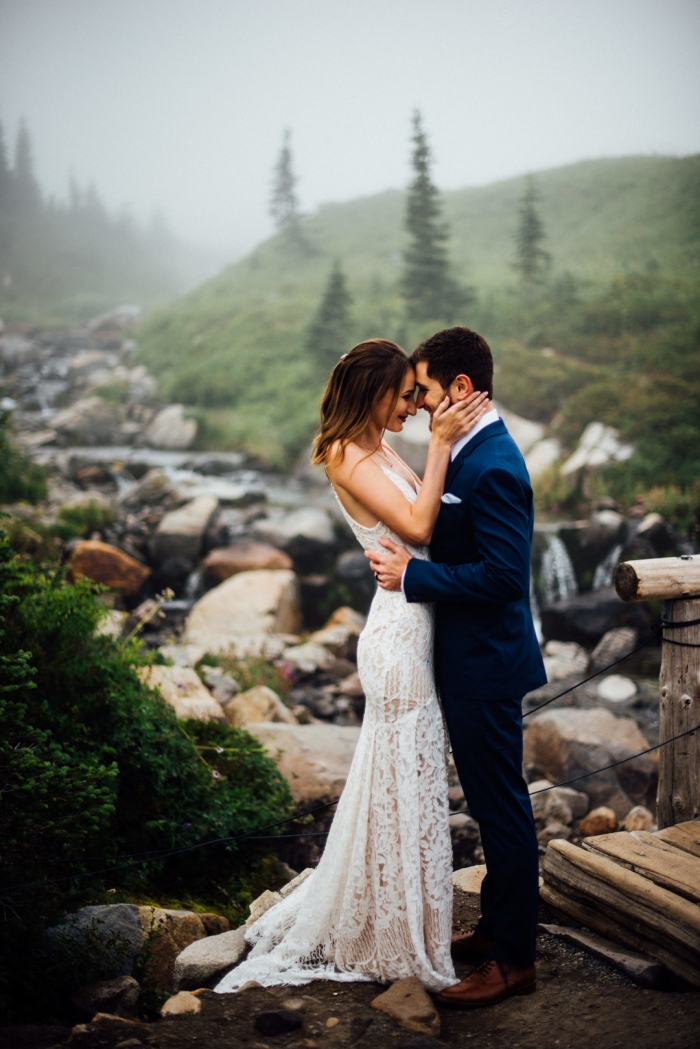
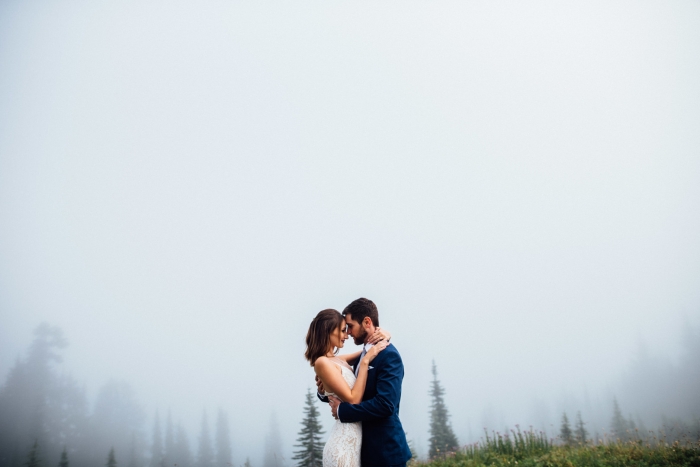
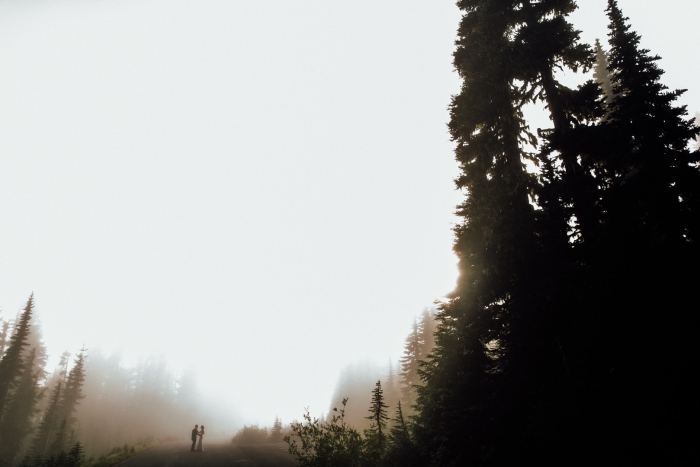
The day did not go as planned, but ultimately turned out being so much better.
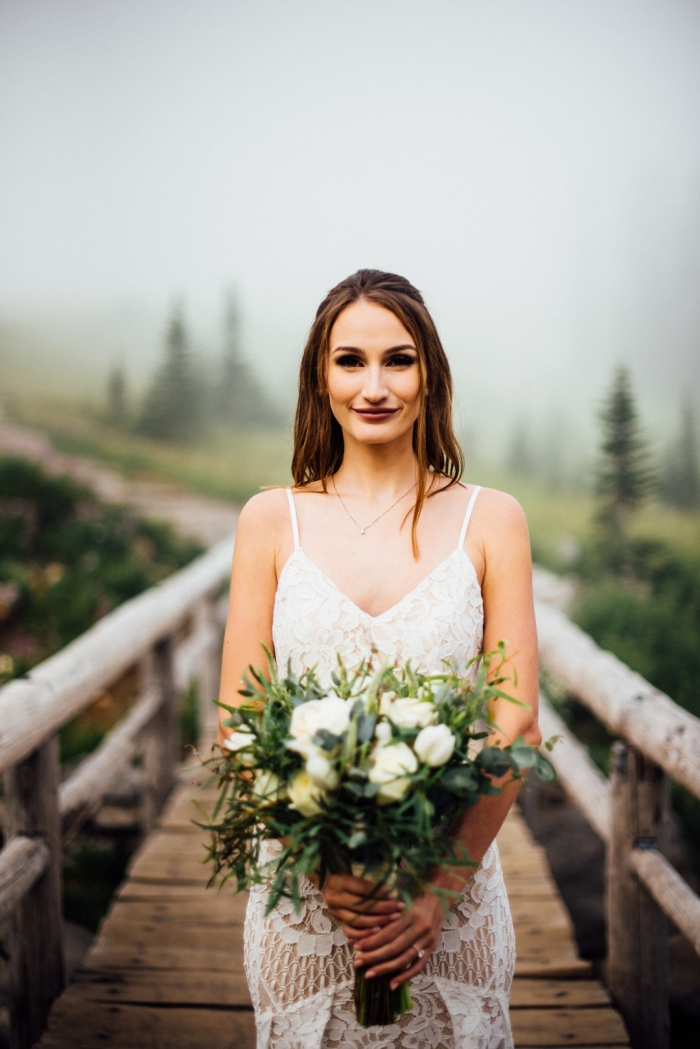
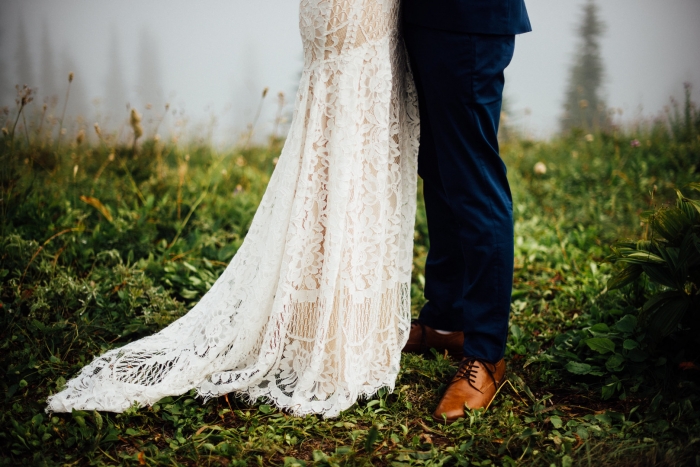
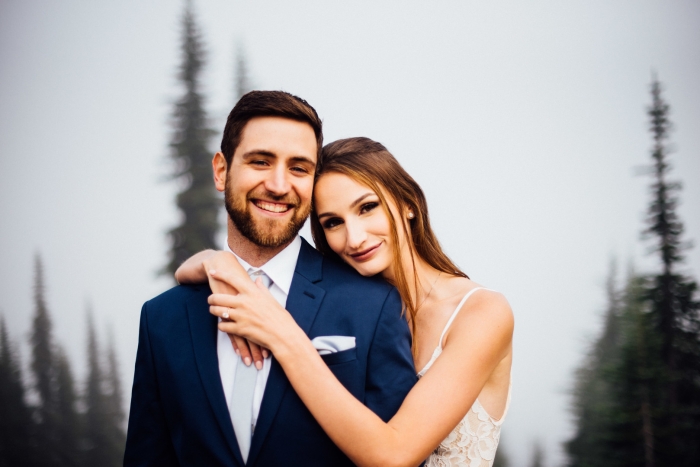
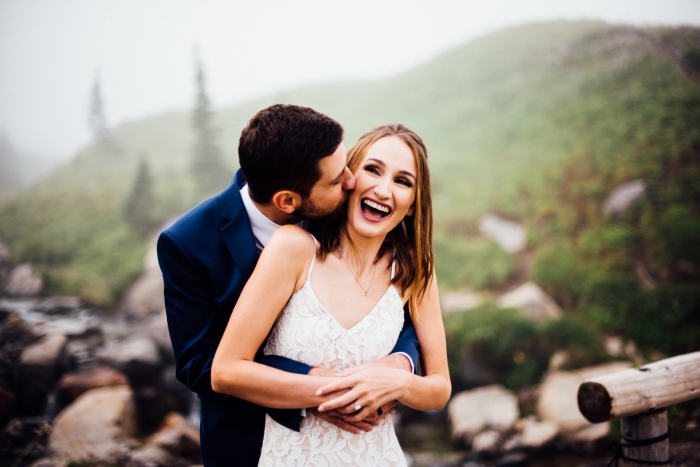
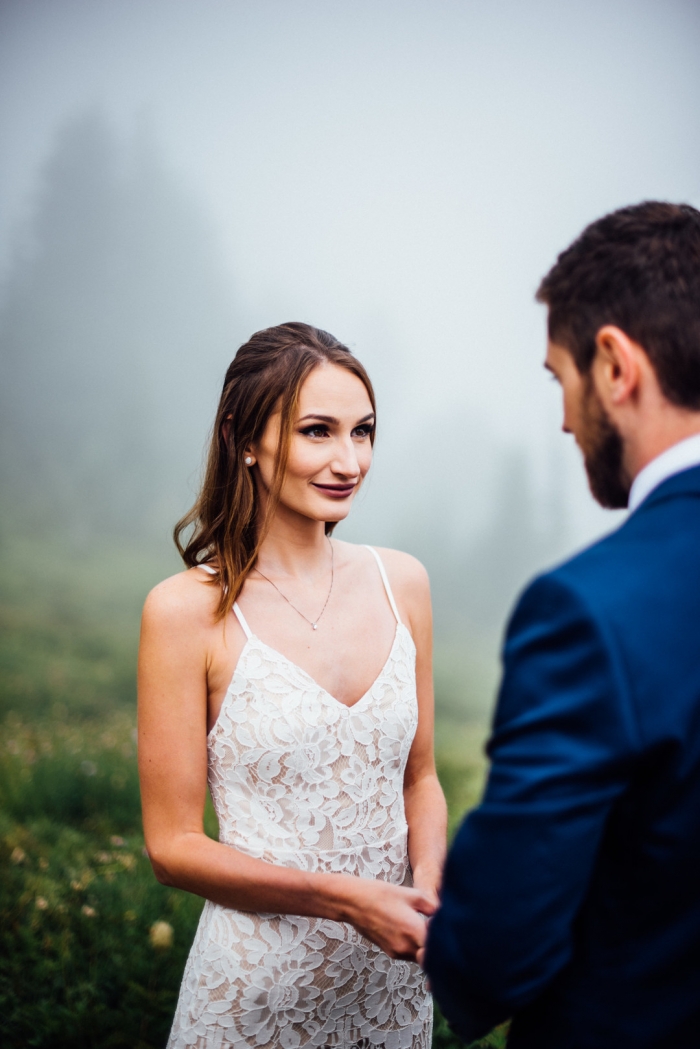
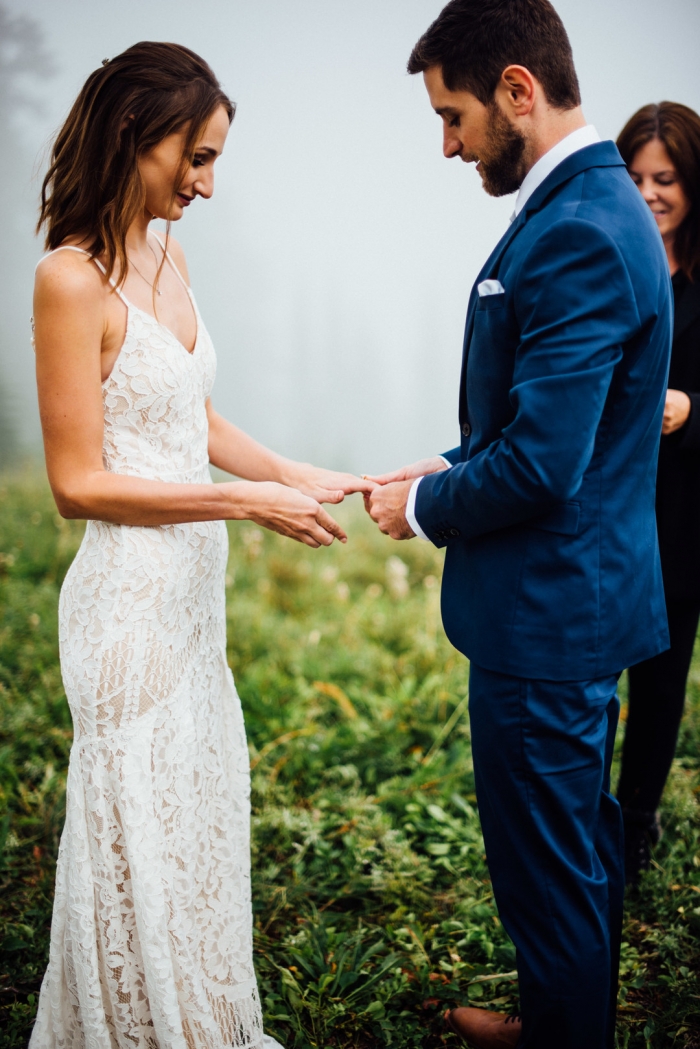
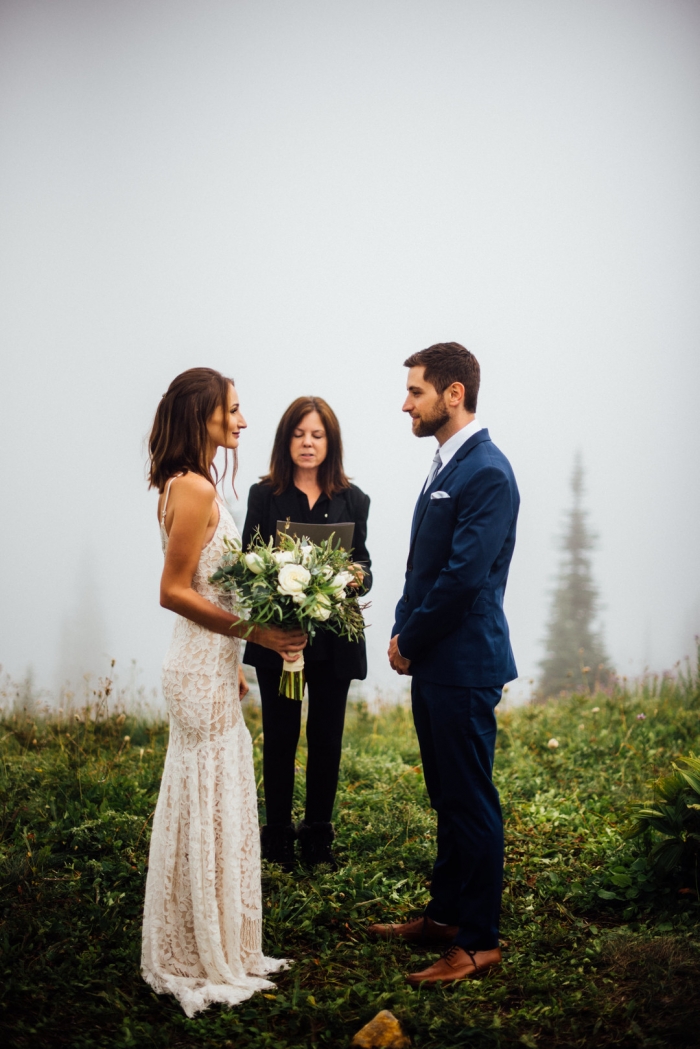
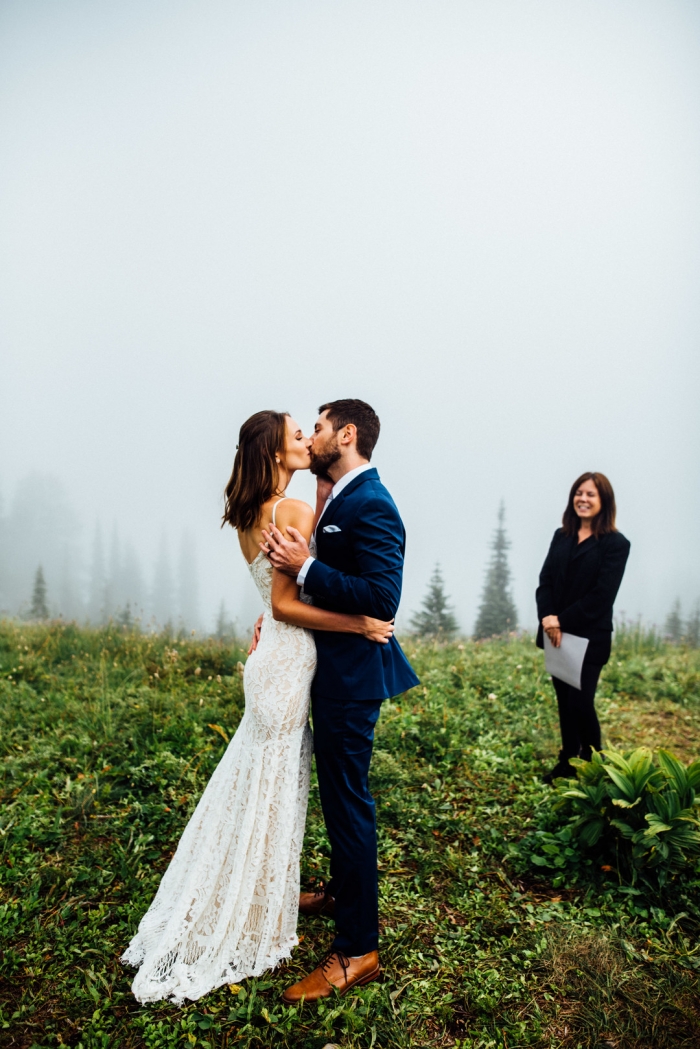
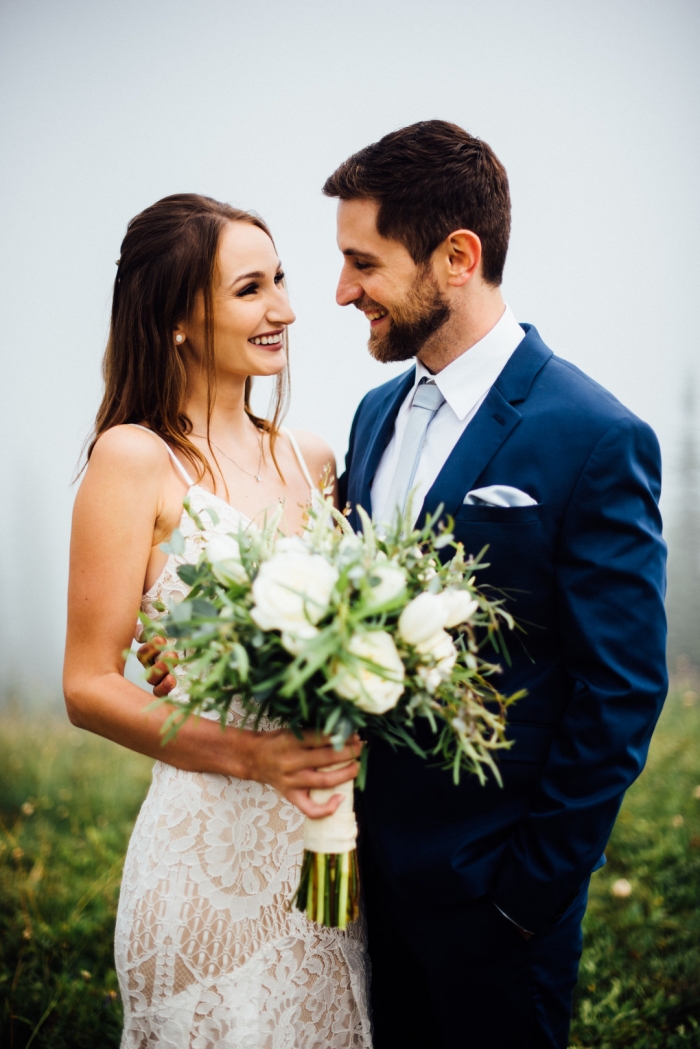
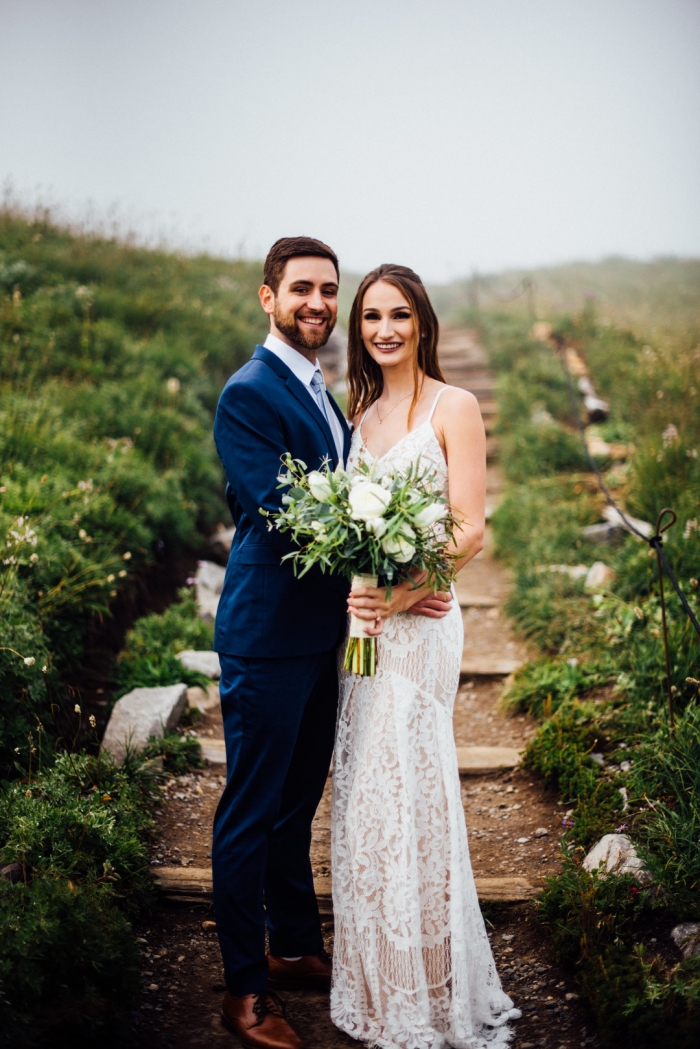
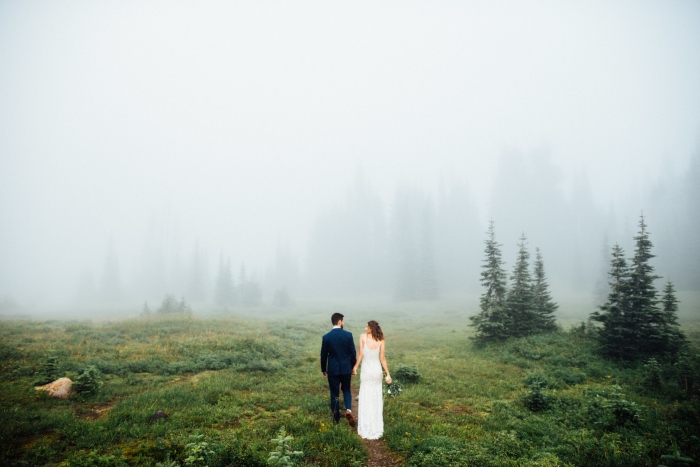
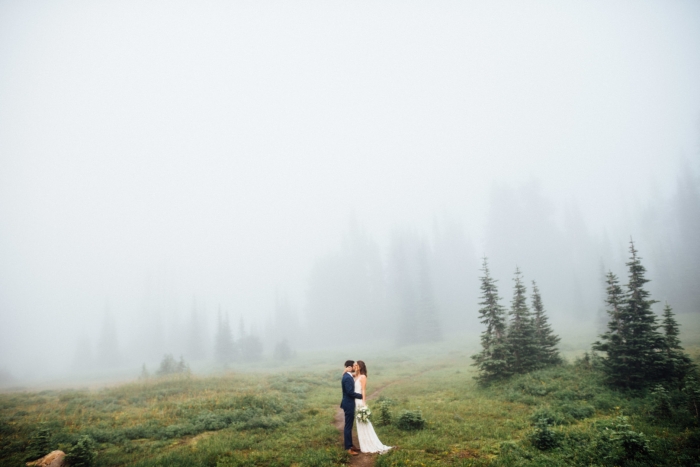
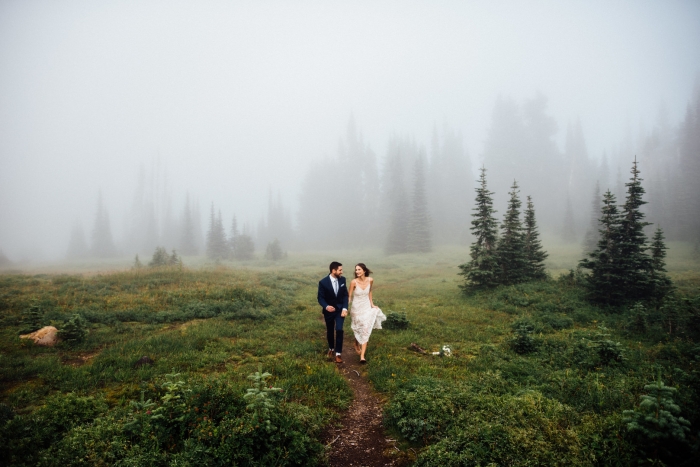
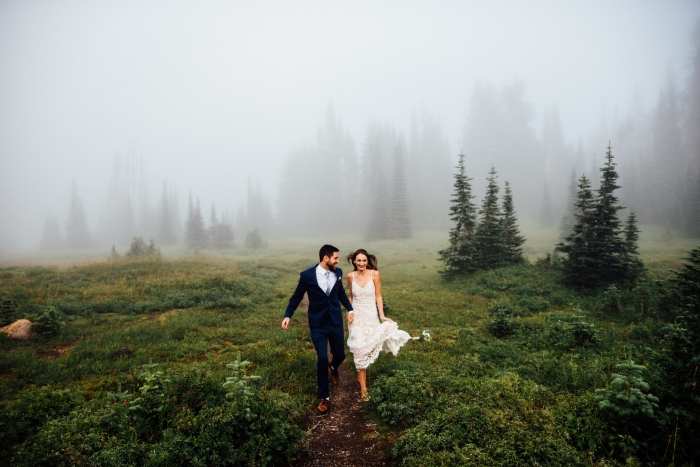
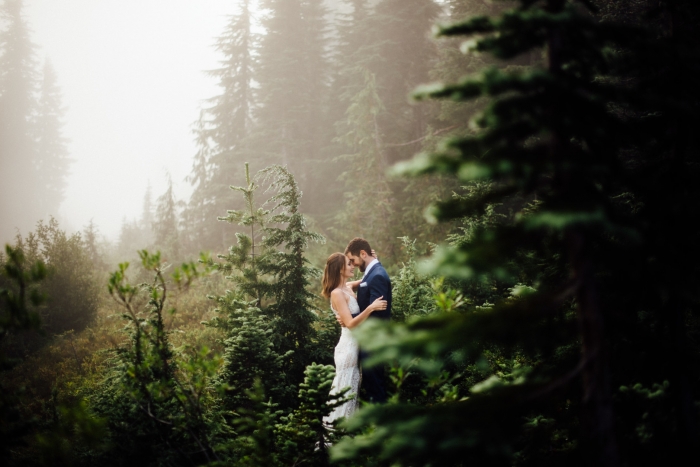
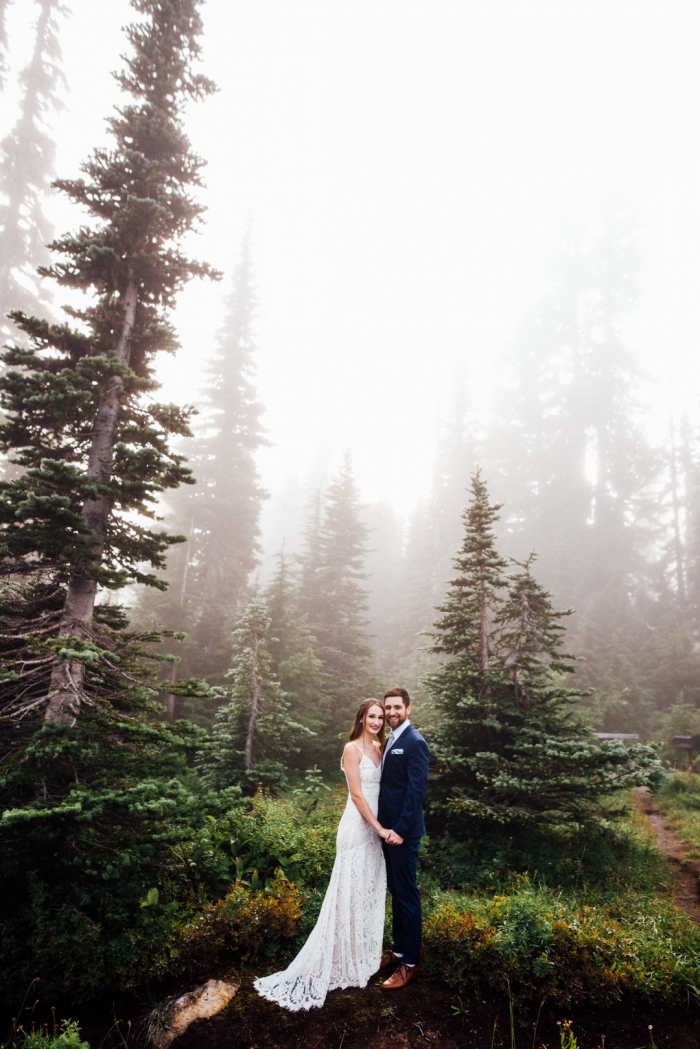
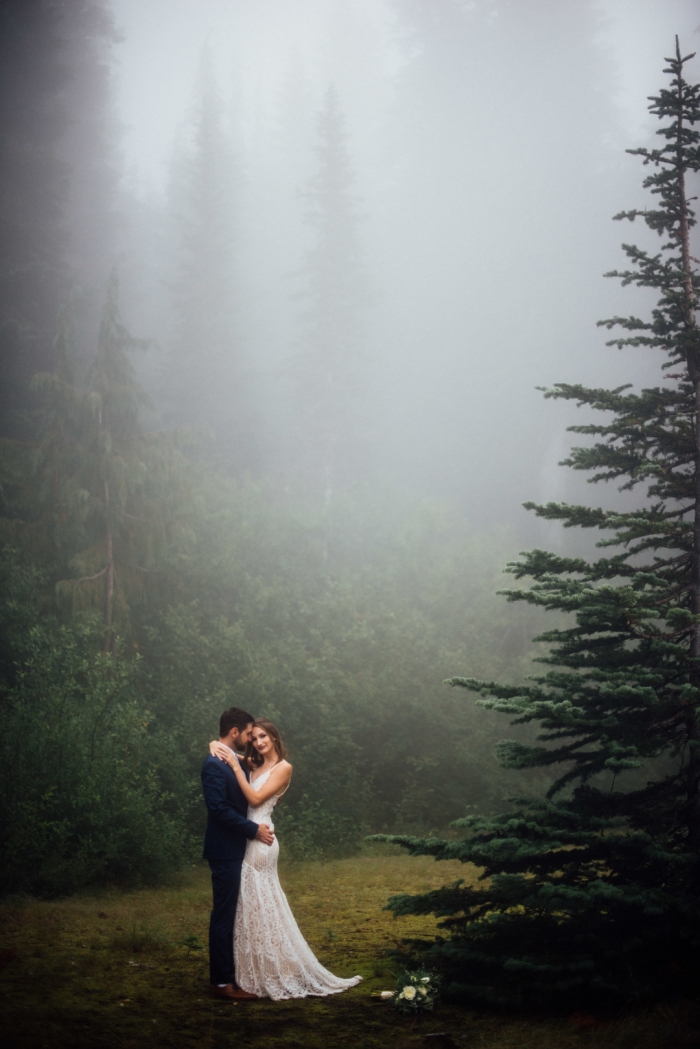
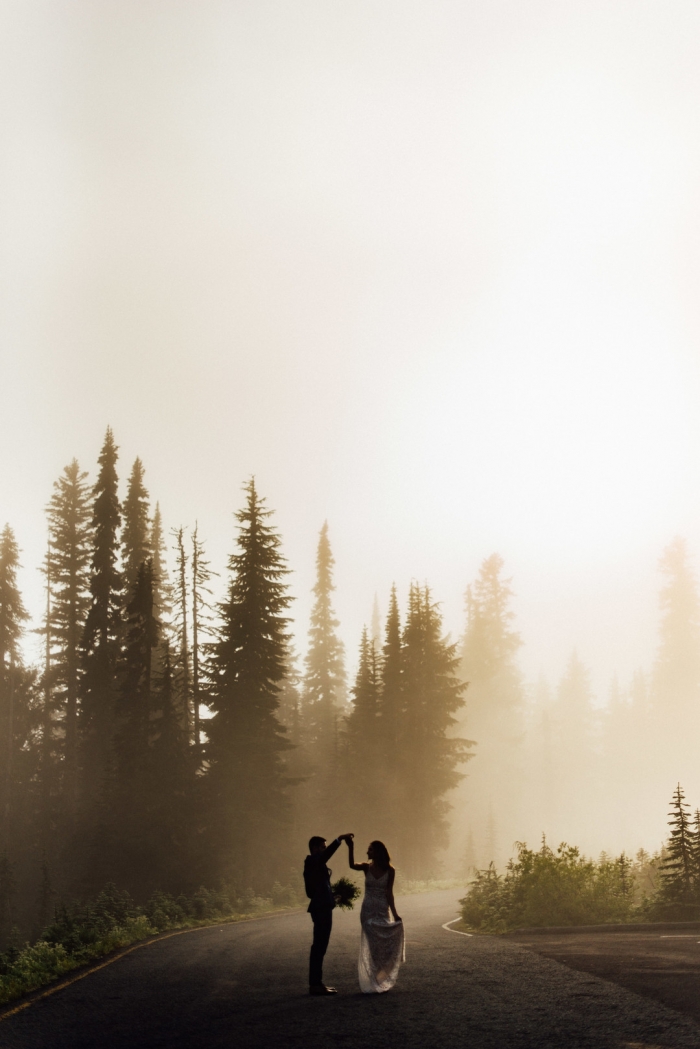
“Upon arrival at the mountain there was so much fog you could hardly see a few feet in front of you. Despite not being able to view the mountain in all its glory, it ended up being so much more epic. The day was spent surrounded by fog, love, happiness and encouragement from surrounding hikers and so much fun,” said Rebecca.
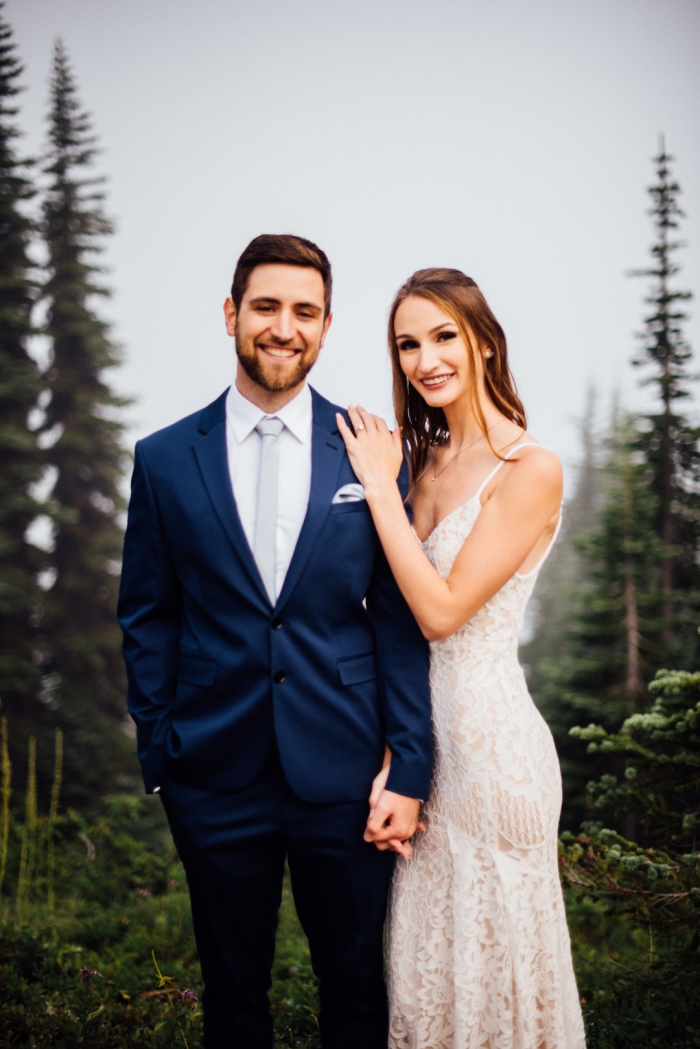
Kudos to Rebecca Anne Photography for the epic photos of this gorgeous elopement.

Blaire, 24 & Brendan, 25
Location: Mount Rainier National Park
Wedding Date: August 22, 2019
Number of Guests: 0
Wedding Cost: ~2,000
Wedding Ceremony Location: Mount Rainier National Park in Washington
Wedding Reception Location: N/A


Why did you have an intimate wedding?
We’ve always known we weren’t the kind to have a traditional wedding and wanted the beginning of our marriage to be between the two of us. The idea of eloping came up and we just kind of rolled with it. We had never been to the pacific NW so we figured why not go visit and get married along the way!

What are some the challenges that you faced planning an intimate wedding?
Finding and choosing vendors was probably the most difficult part since we had never been to the area, but our photographer (found via Google) had amazing recommendations for our other vendors!
Was it difficult to pare down the guest list?
Nope!
Did you have any ‘issues’ with the small guest list from friends and family? If so, how did you address them?
None! Our family and friends were all very supportive of us and our plans!
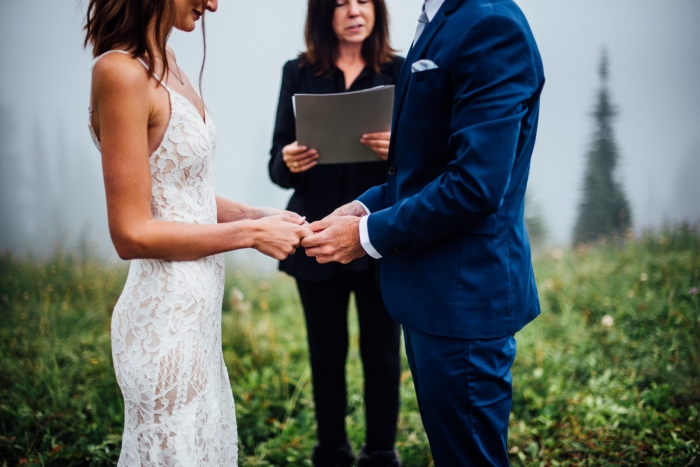
What were the highlights of the ceremony?
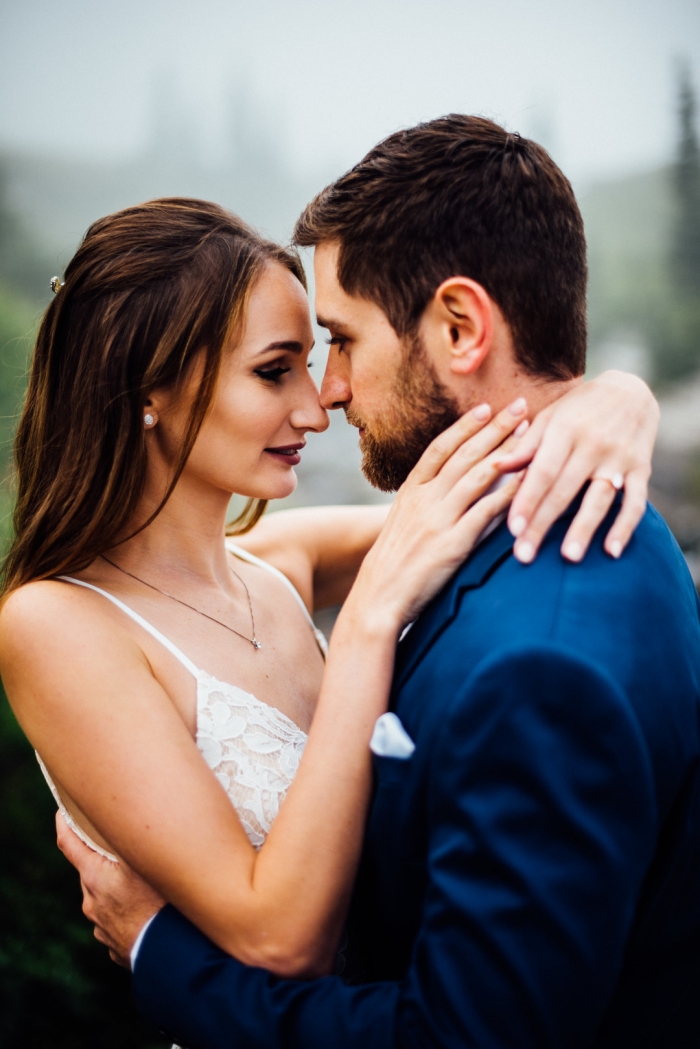
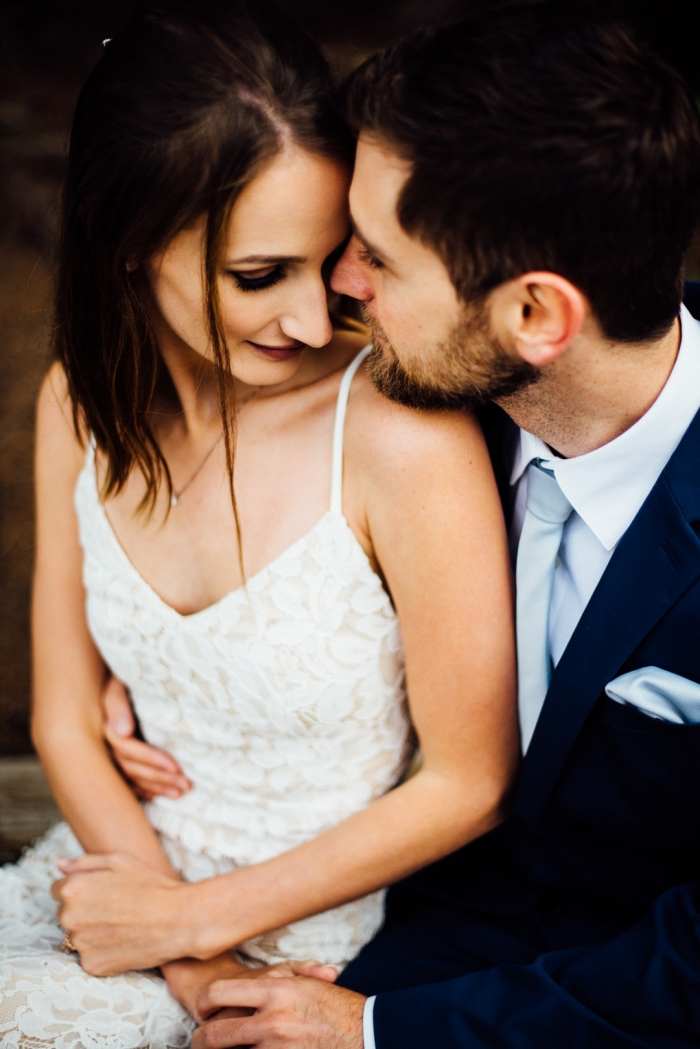
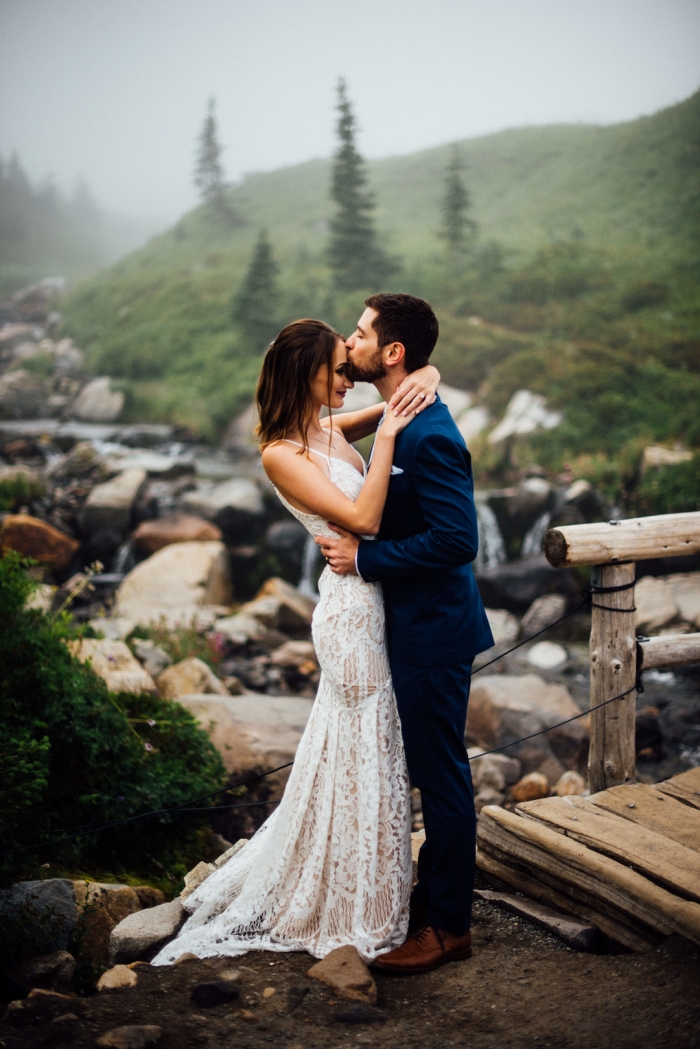
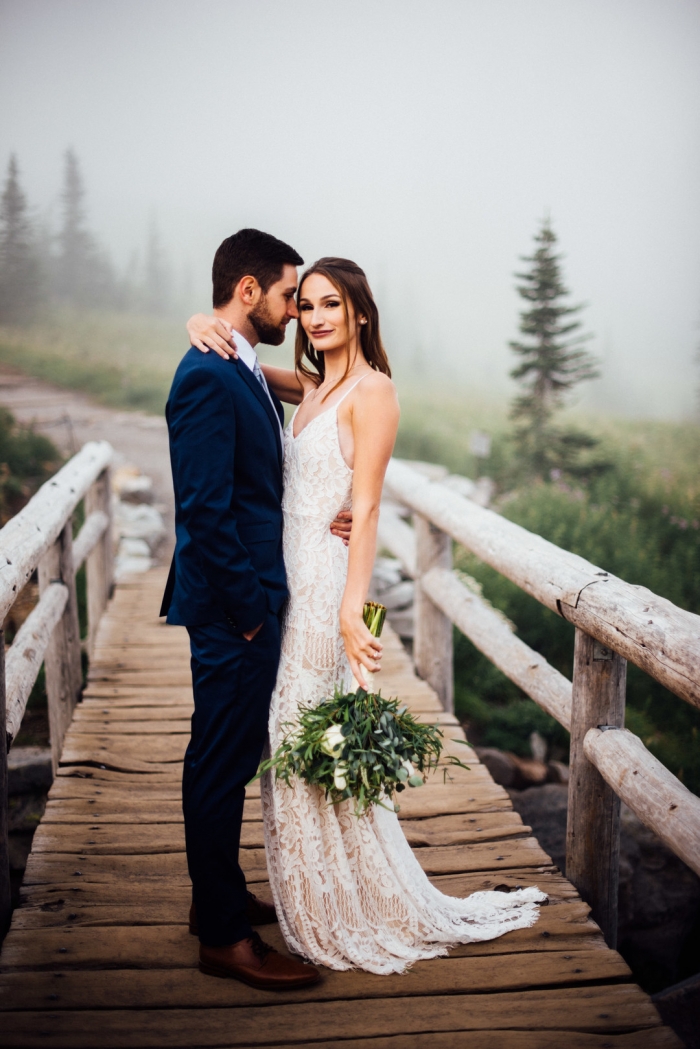
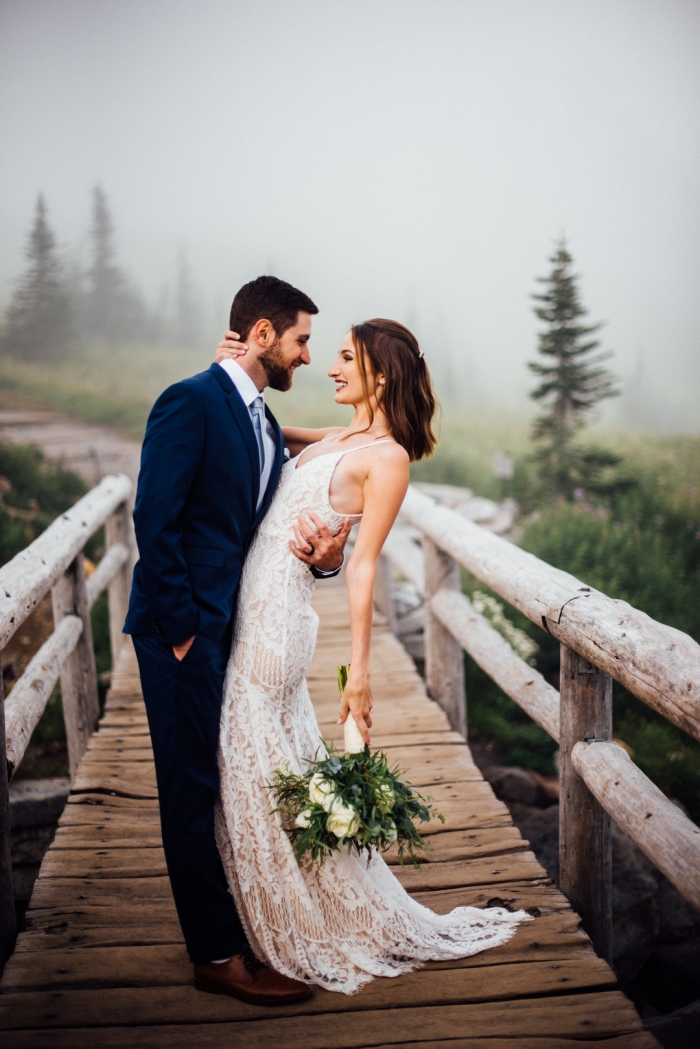
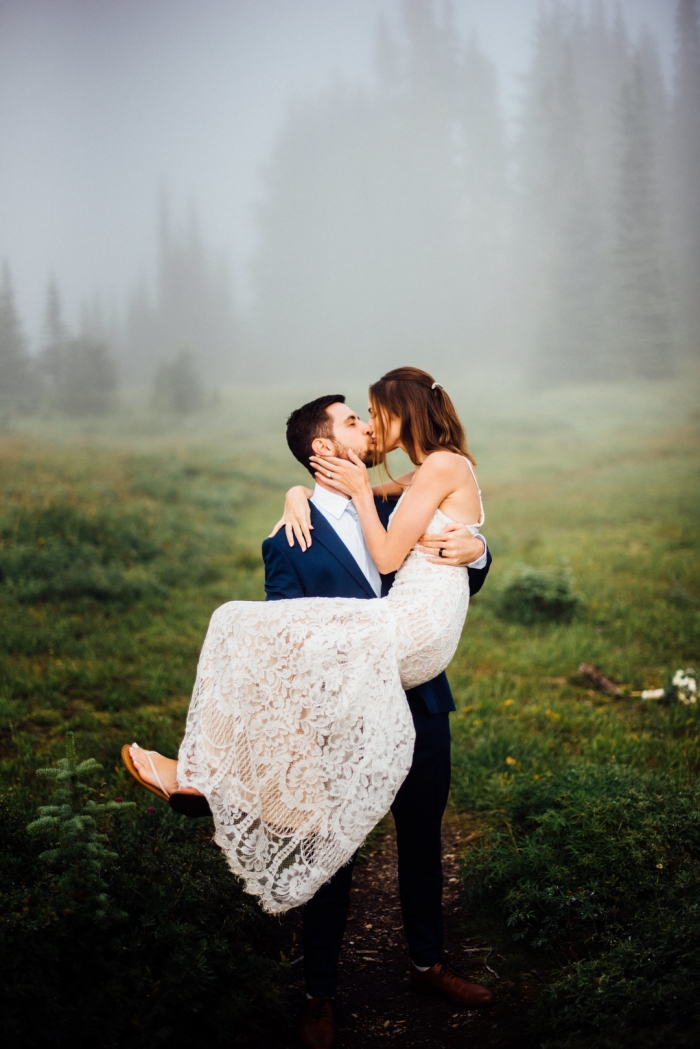
Our ceremony was short and sweet, and it was just amazing to say our vows surrounded by fog in the beautiful park.
What were the highlights of the reception?
N/A
What was the best thing about having an intimate wedding?
The best part was being able to spend all of our time with each other the entire day. We slept in, drank coffee on the porch of our cabin, got ready together, and got married. It was the perfect day.
What advice do you have for couples who are considering an intimate wedding?
Do it! It’s such a special way to start your life as a married couple!
Vendors:
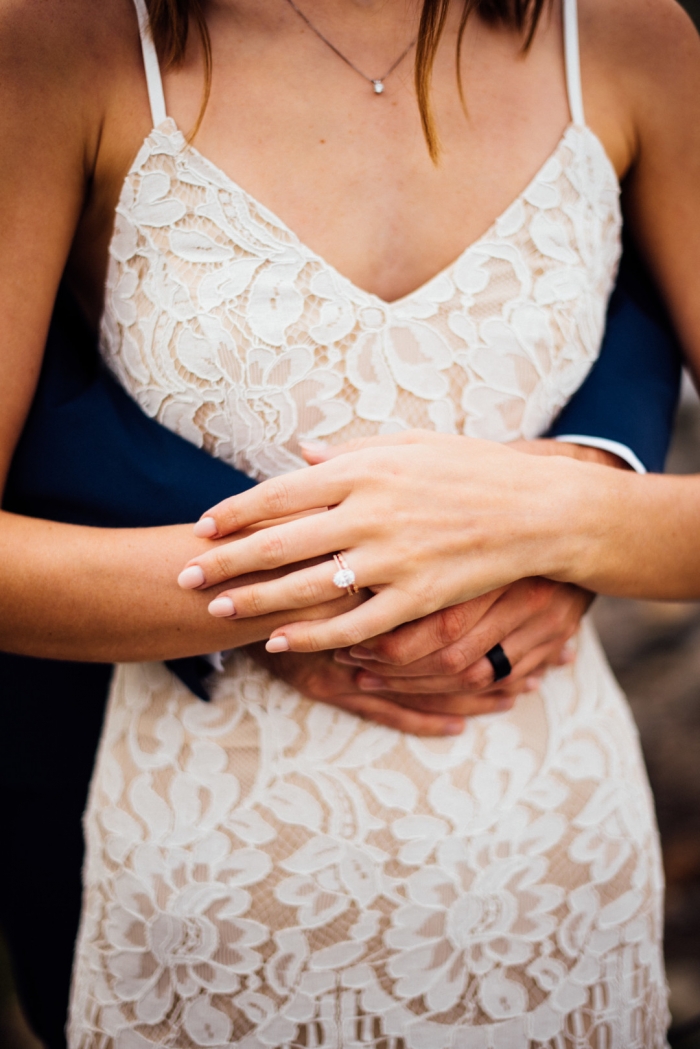
Photography: Rebecca Anne Photography
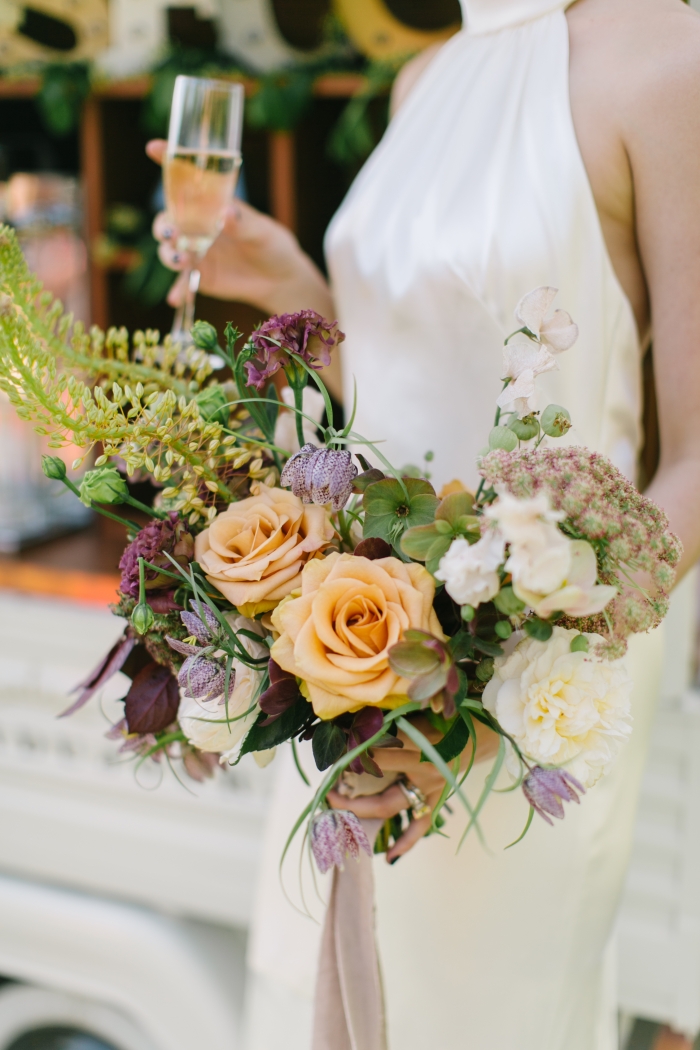
Floral: Love Blooms
Officiant: Dayna Jo