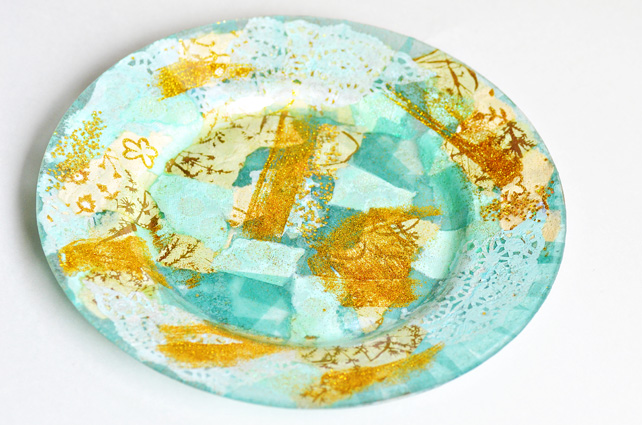
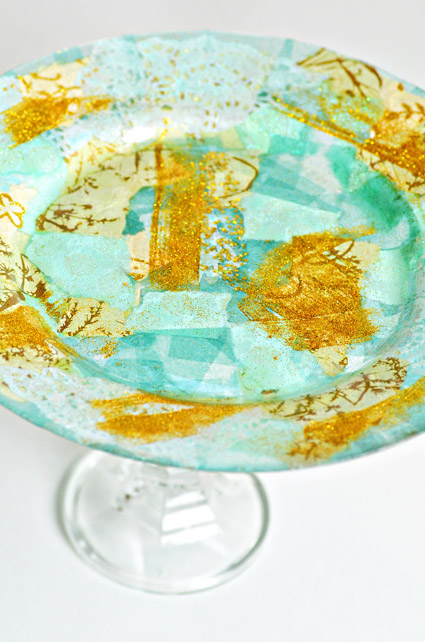
 It’s amazing what you can do with a little glitter, paper, Mod Podge, a candlestick and a clear, dollar store plate.
My inspiration for these decorative plates came during a trip to a local art gallery. Being the collage fiend that I am, I was instantly drawn to a display of artfully collaged plates and platters in a dazzling array of colors. The plates were selling for $80 + each – not an unfair price for a one-of-a-kind piece of art, but more than I wanted to pay. I observed one of the plates up close and realized that the artist had Mod Podged the back of a clear plate with a variety of papers and some glitter.
Utterly inspired, I made a beeline for the exit and found the nearest dollar store to load up on clear plates. I already had a heap of pretty papers and a drawer full of glitter at home. That evening my daughters and I collaged our first plate (this is a great project for kids!) and the result was even better than I expected.
Not only would these make great dessert plates, but also unique handmade gifts for your wedding party. (Note: these plates cannot be submerged in water. They must be wiped down by hand with a cloth.)
Here’s how to make ’em.
- You will need:
- Clear Glass Plate
(mine was just under 10 inches wide)
- Clear candlestick (this is optional)
- Mod Podge
- Paint brush
- glitter
- tissue paper
- various origami or scrapbook papers
- dyed doilies (optional)
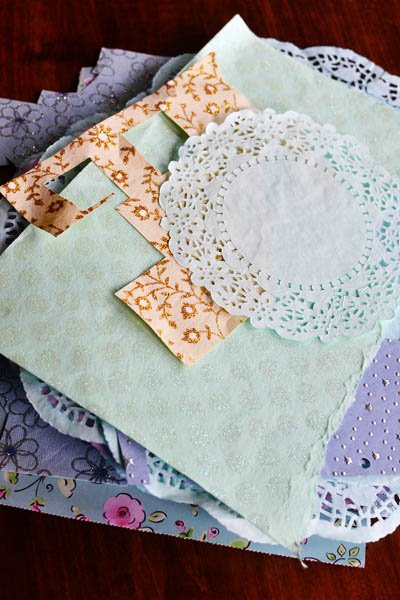
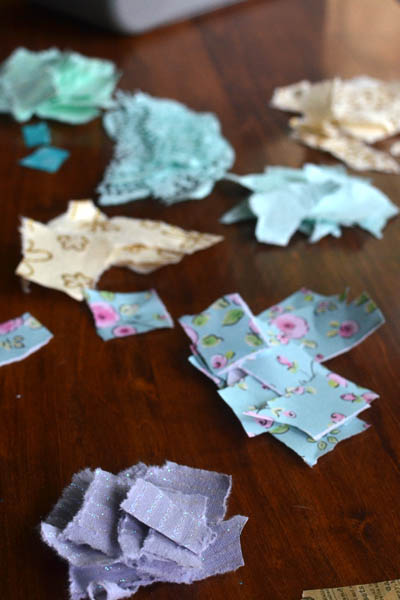
Gather your paper.
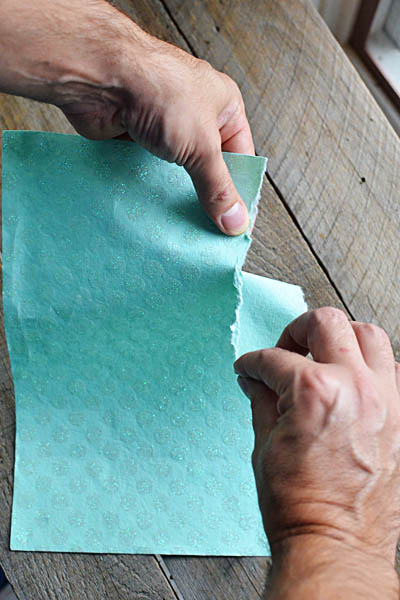
Rip paper into various shapes and sizes.
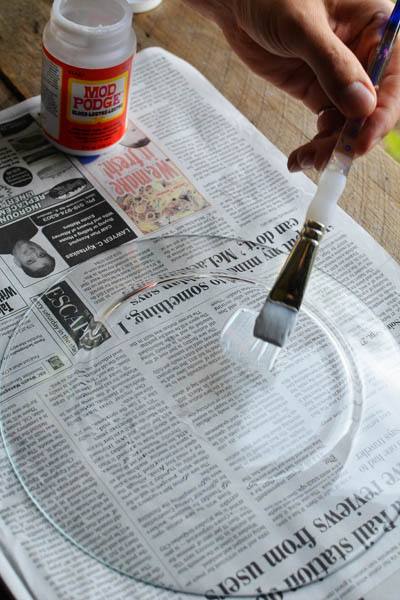
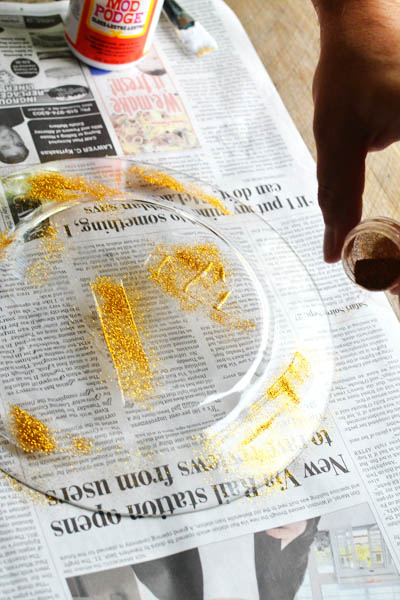
 Turn your plate over and randomly add Mod Podge to your plate with a paint brush.
Sprinkle glitter onto Mod Podged areas.
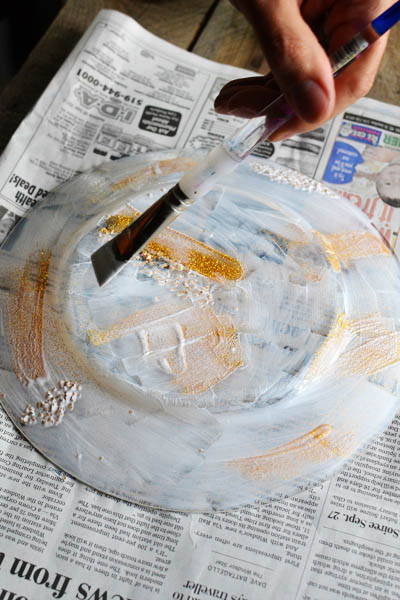
 Let dry. Once it is dry, cover entire back of plate with Mod Podge.
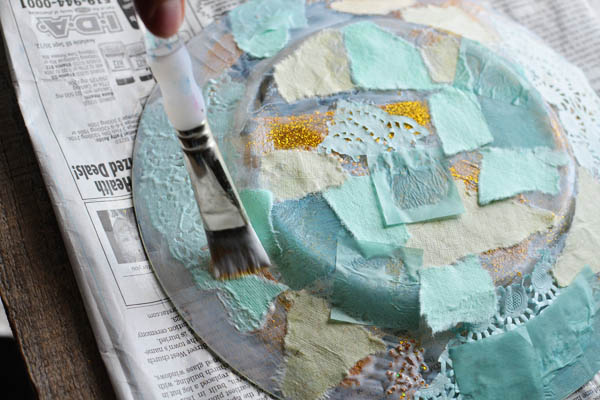
 Randomly add pieces of ripped paper, pattern side down.
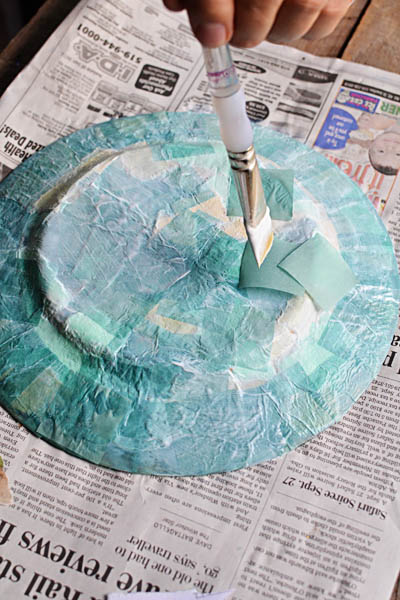
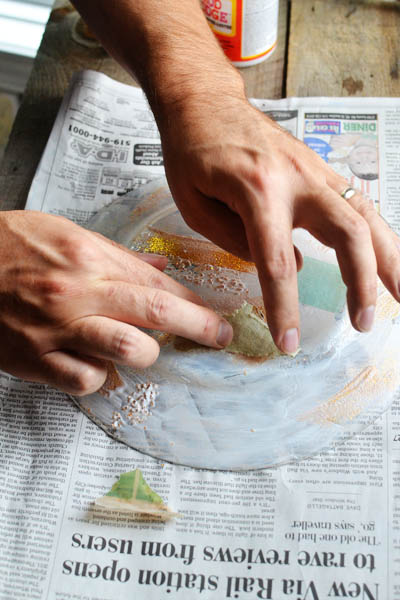 Continue to add paper until entire plate is covered, then brush Mod Podge over paper.
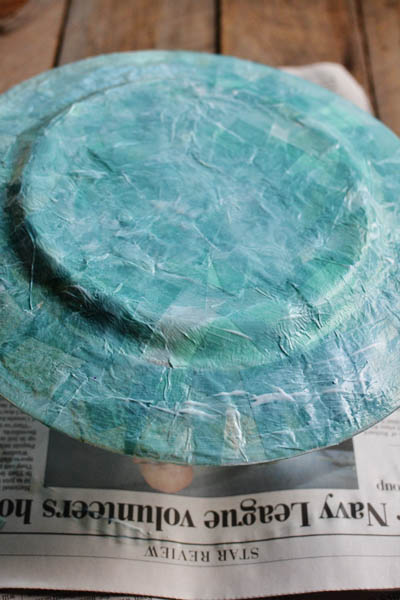
Add a layer of tissue paper to create a uniform look on the back of the plate. Cover with Mod Podge.
Set plate on a cup or glass and let dry overnight. No peeking!
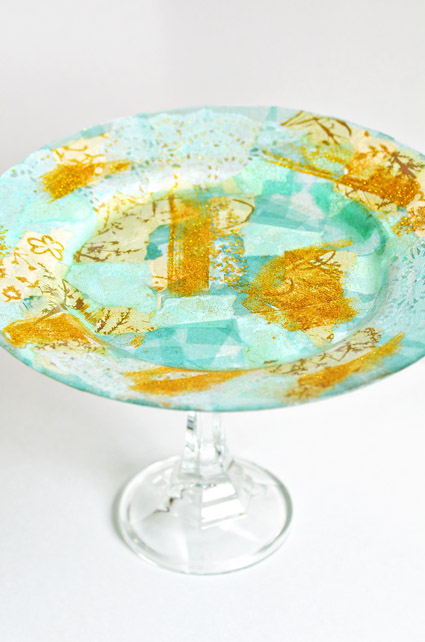
You can leave the plate as it is or add a stand.
To make a stand, follow the instructions in this DIY cake stand tutorial. That’s it! Brilliant, huh?


