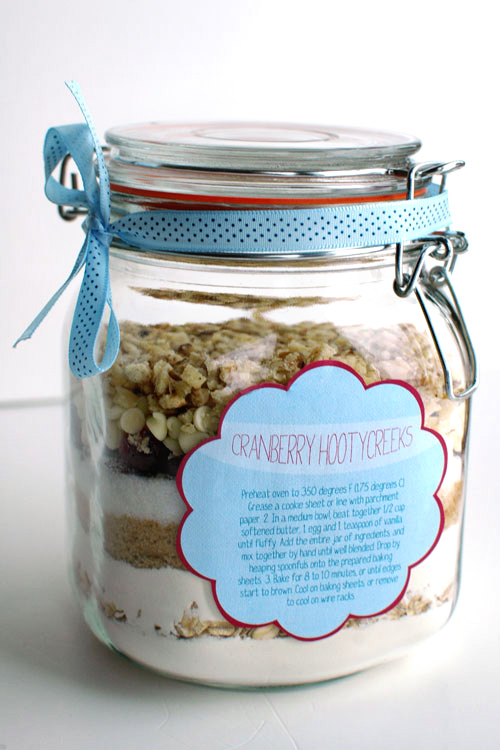
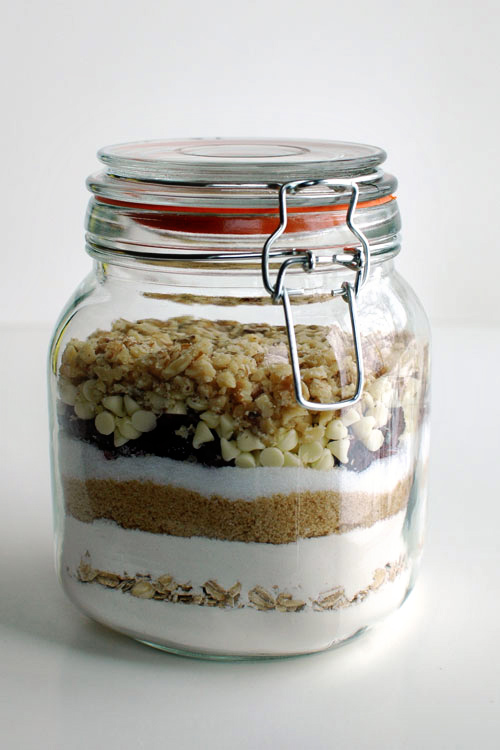
Cookies in a jar make awesome wedding favors. Not only are they adorable and affordable – they’re an easy DIY project. Lizzie over at Love Your Way designed cute recipe labels that you can download for free.
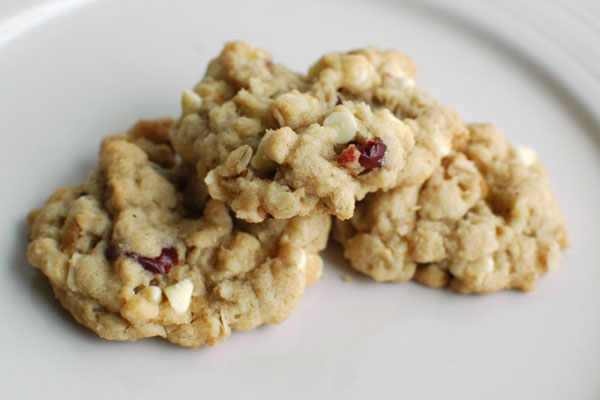
These Cranberry Hootycreeks cookies in a jar are really delicious. In fact, this was all that was left the next day when I went to take a photo of them for this tutorial. Three measly cookies!!!
Here’s what you need:
Ingredients:
1/2 cup + two tablespoons flour
1/2 cup rolled oats
1/2 cup all-purpose flour
1/2 teaspoon baking soda
1/2 teaspoon salt
1/3 cup packed brown sugar
1/3 cup white sugar
1/2 cup dried cranberries
1/2 cup white chocolate chips
1/2 cup chopped walnuts (you can also use pecans)
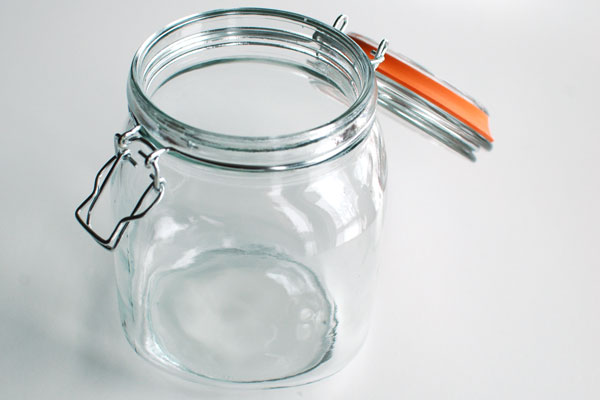
I used a one-litre jar. There was some space left at the top of the jar. If you are making these for a wedding and you will be transporting them, make sure you pack down each of the ingredients and place the jars in a box that won’t allow the jars to move around too much. You might want to consider using a jar that is a bit smaller so the contents go right to the top.
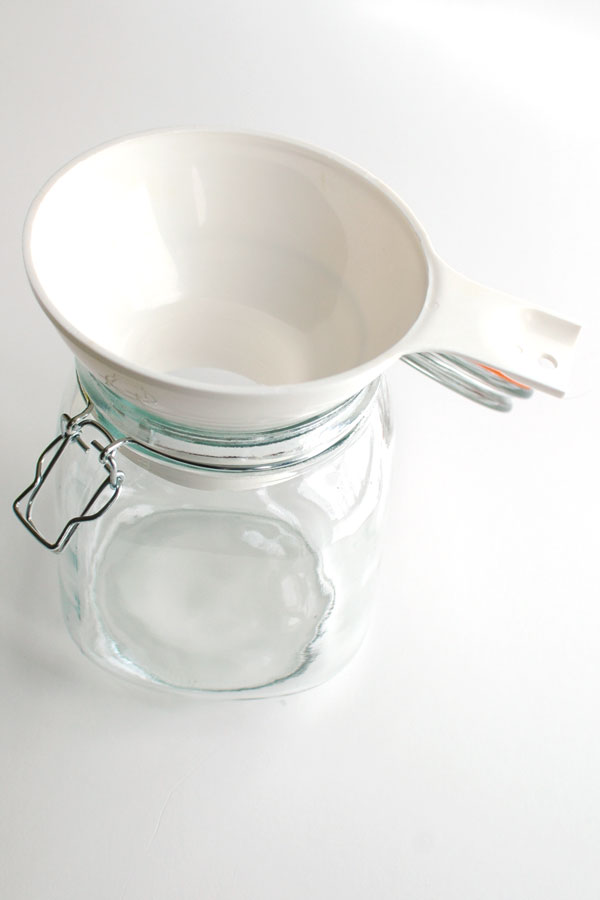
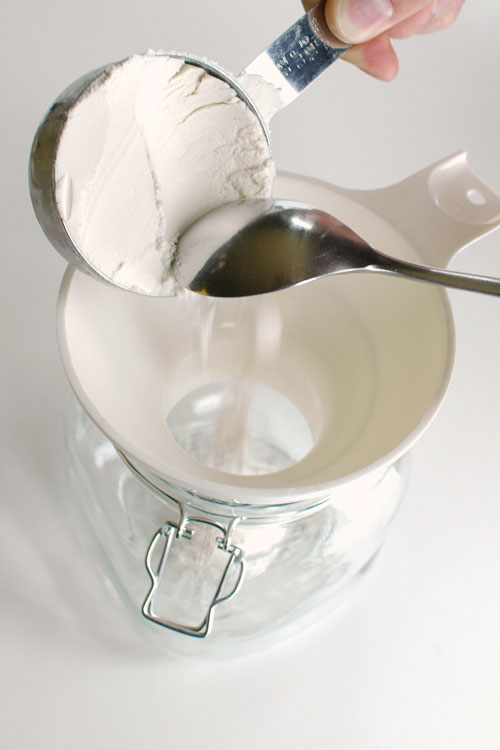
Place canning funnel inside of jar mouth.
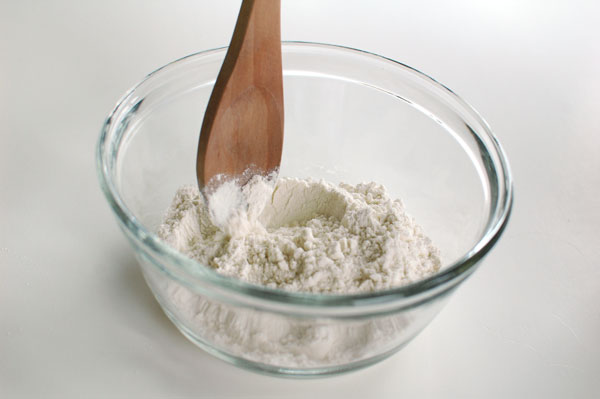
Add 1/2 cup + 2 teaspoons flour.
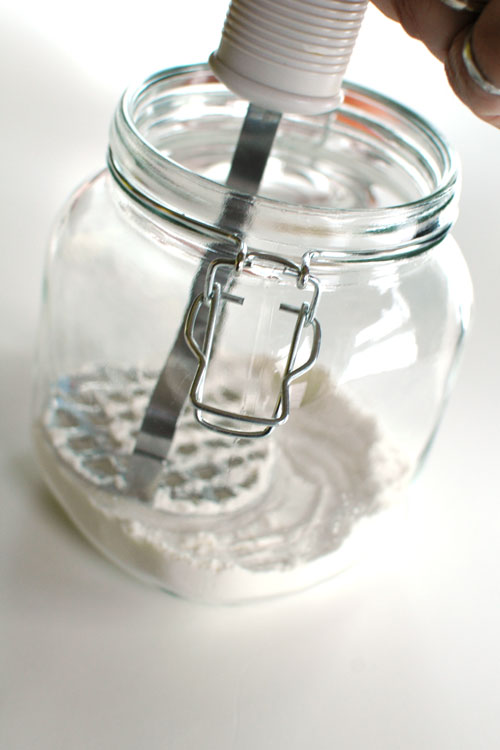
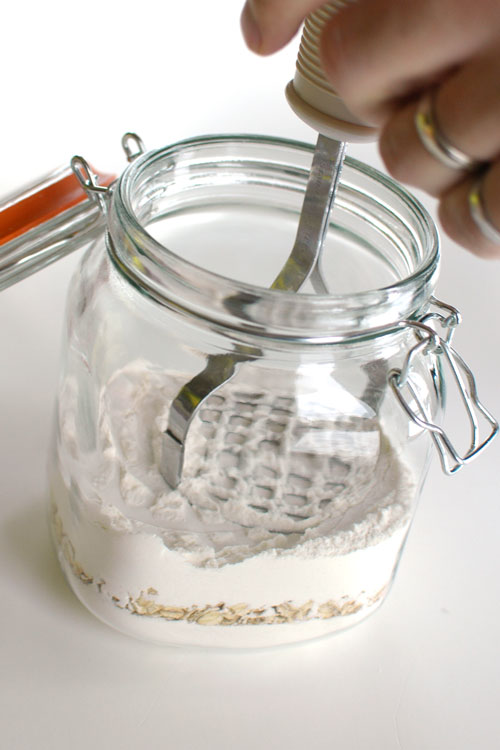
Tamp with a potato masher or the bottom of a jar.
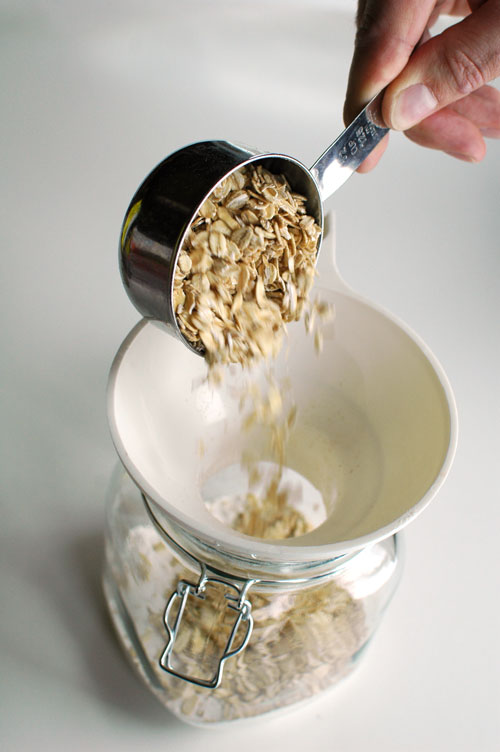
Add 1/2 cup rolled oats.
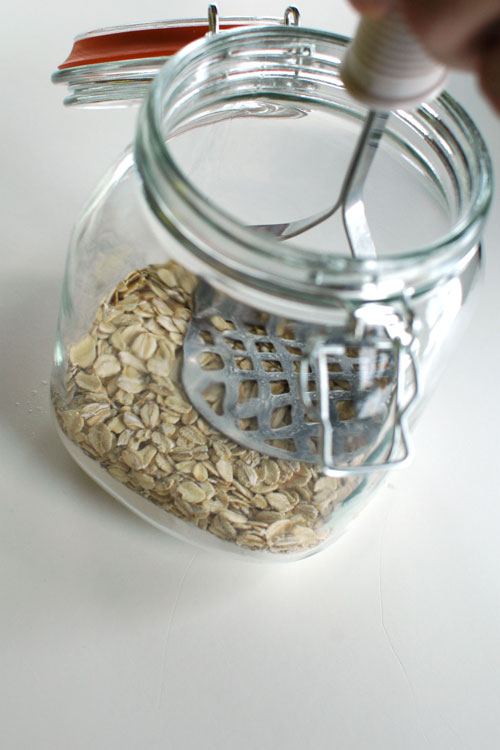
Tamp rolled oats.
Mix 1/2 cup flour with 1/2 teaspoon baking soda and 1/2 teaspoon salt.
Carefully pour the flour mixture into the jar.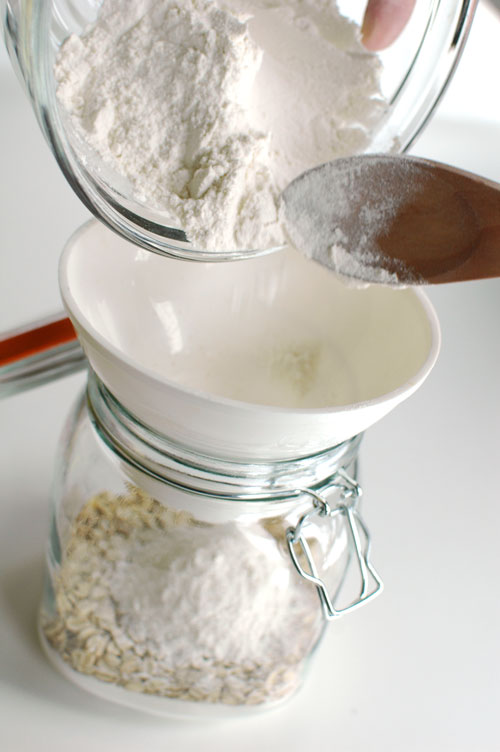
Tamp flour mixture.
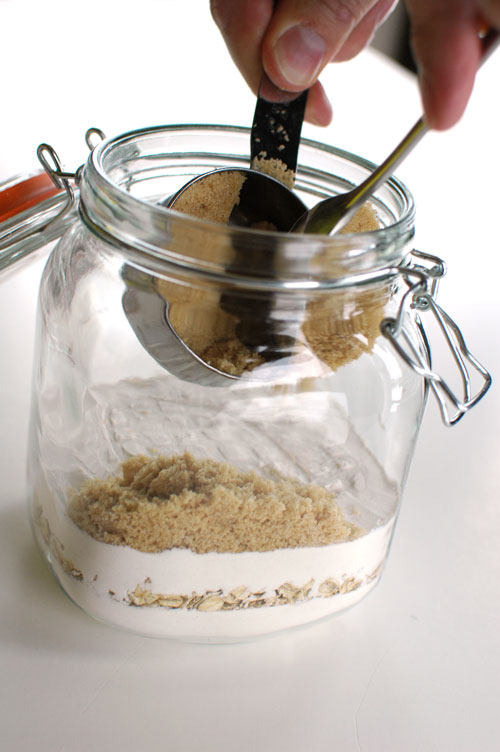
Add packed brown sugar. We removed the funnel for this.
We built the edges up a bit on the sugar so it would look nicer in the jar.
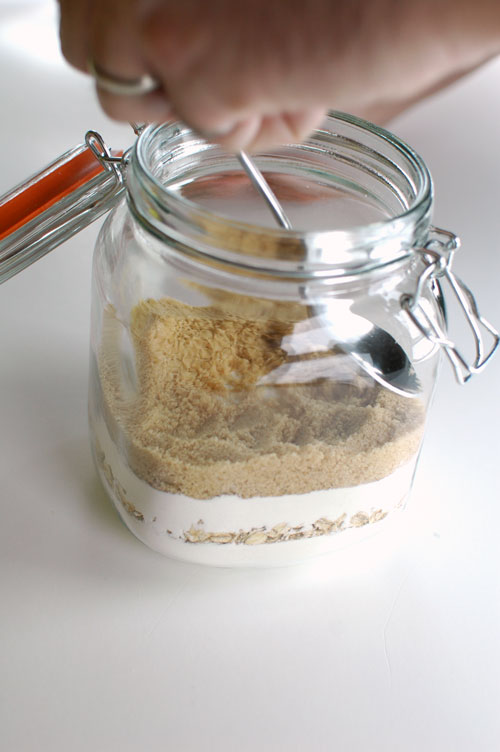
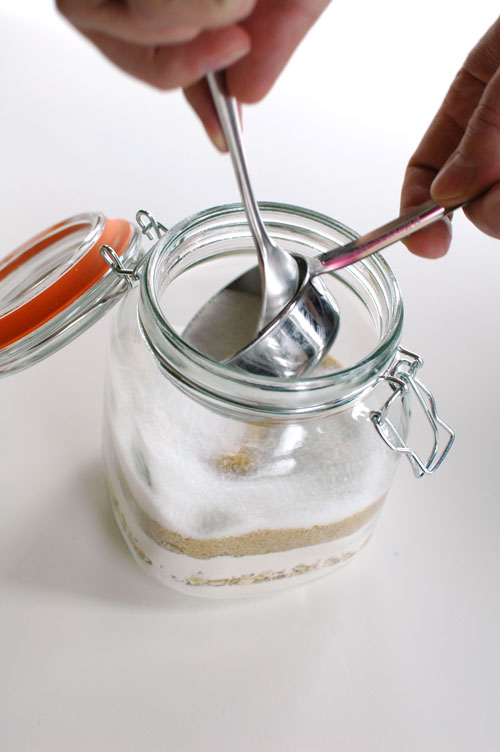
Pour in the white sugar. Once again we built up the edges.
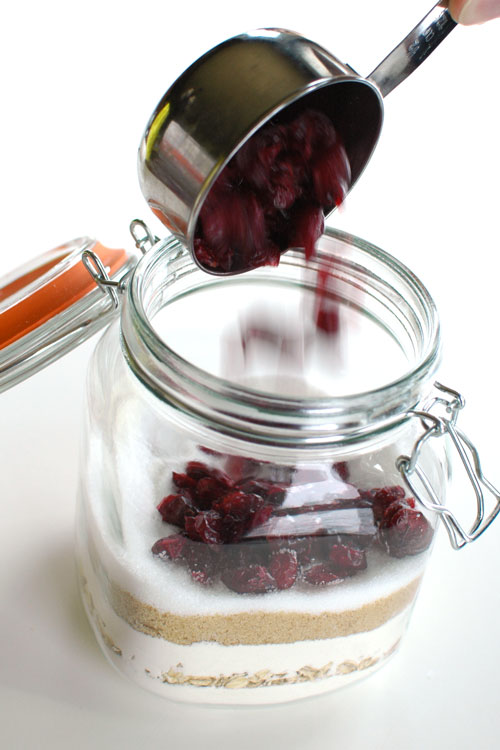
Add dried cranberries to the cookies in a jar.
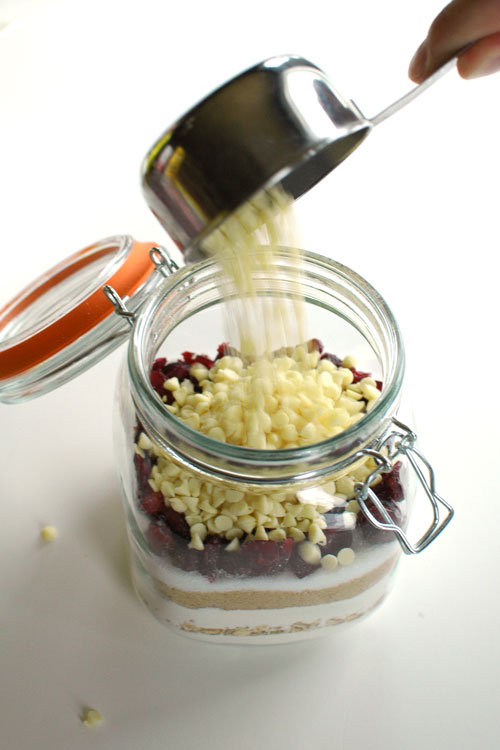
Add white chocolate chips.
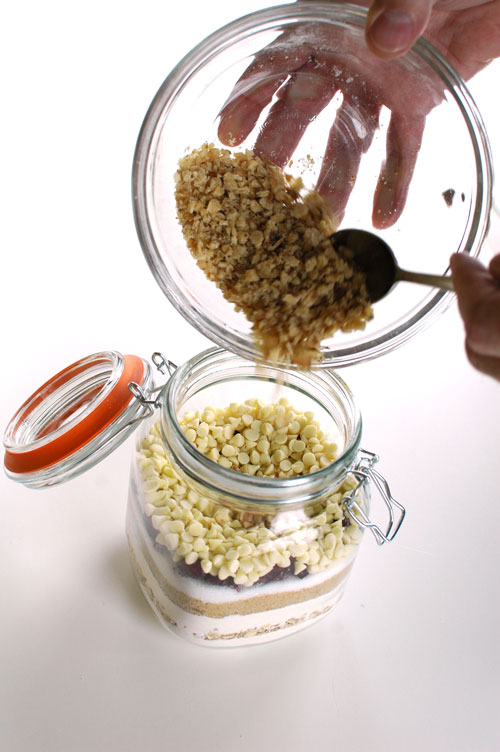
Add chopped nuts to the jar.
Close lid on your marvelous creation.
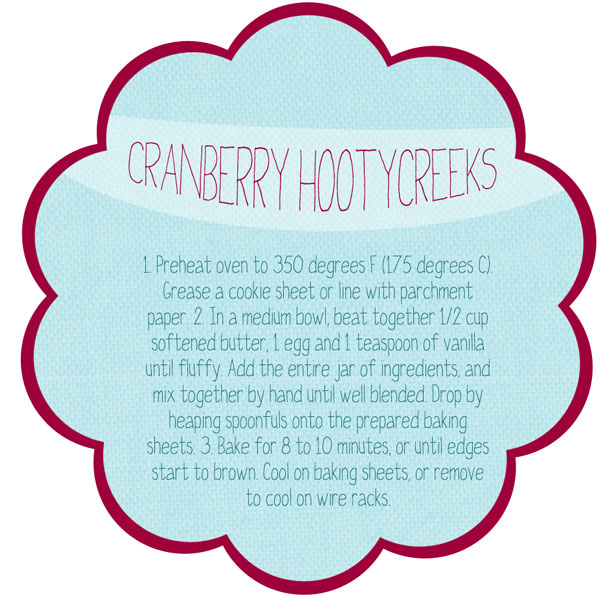
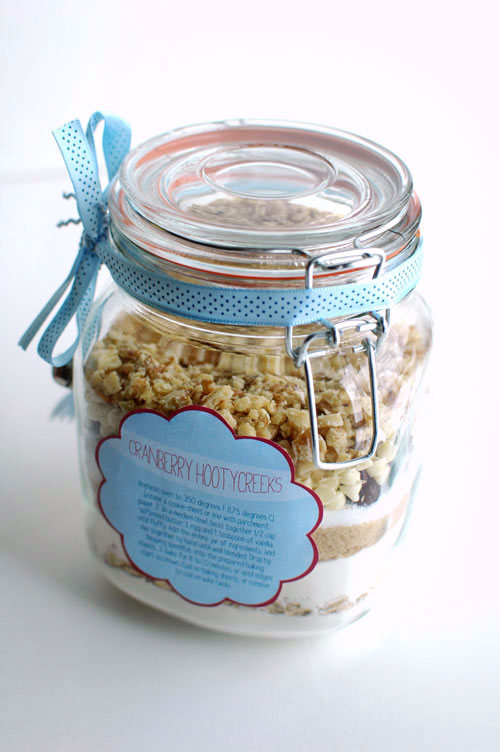
Print out your free Cranberry Hootycreeks cookies in a jar label.
Adhere label to jar. Add ribbon. Fini!
If you want to make your own labels or tags, simply cut and paste these instructions:
1. Preheat oven to 350 degrees F (175 degrees C). Grease a cookie sheet or line with parchment paper. 2. In a medium bowl, beat together 1/2 cup softened butter, 1 egg and 1 teaspoon of vanilla until fluffy. Add the entire jar of ingredients, and mix together by hand until well blended. Drop by heaping spoonfuls onto the prepared baking sheets. 3. Bake for 8 to 10 minutes, or until edges start to brown. Cool on baking sheets, or remove to cool on wire racks.
Adapted from Allrecipes.com


