


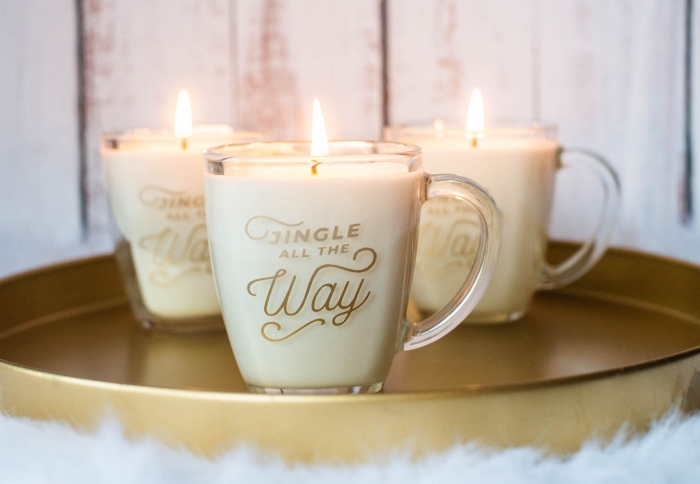
Looking for the perfect DIY winter wedding favors? What’s more hygge for your winter wedding than holiday-themed mug candles? Dazzle your wedding guests with cozy soy candles that you can customize using a Cricut Explore 3. Once the candles are burned, the mugs can be washed and used for coffee or hot chocolate. Practical and beautiful at the same time? When it comes to winter wedding favors, you can’t get much better than these adorable candles. Let’s learn how to make Mug Candle Winter Wedding Favors!
You will need:
Cricut Explore 3
Cricut Smart Vinyl – Permanent in colour of your choice (We used gold.)
Cricut Transfer Tape
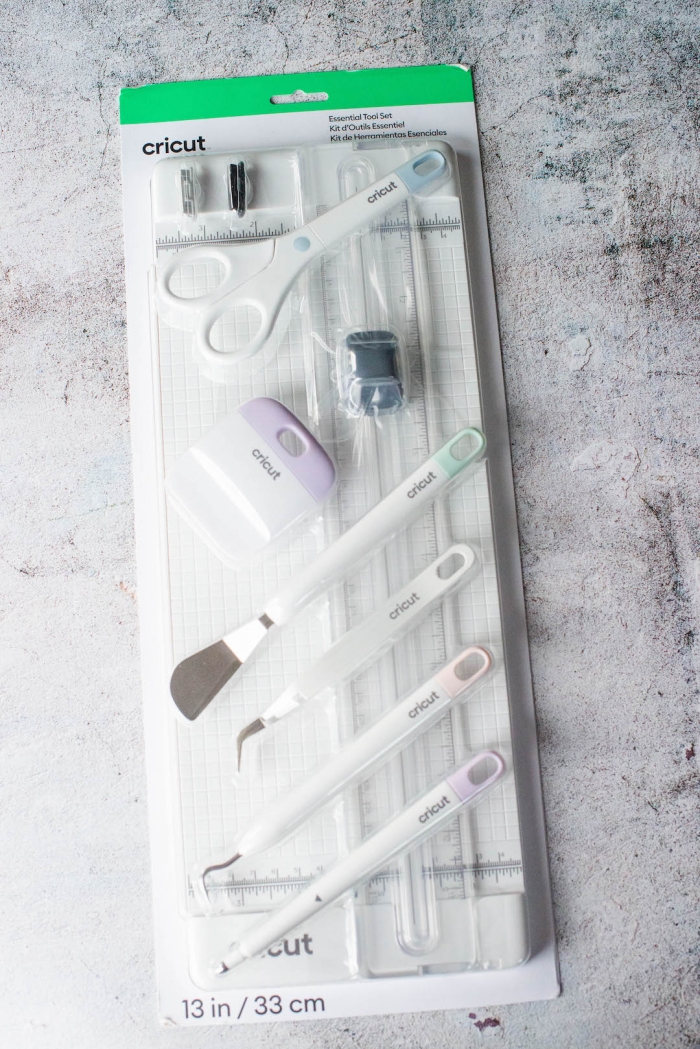
Cricut Essential Tool Set
Cricut Design Space App
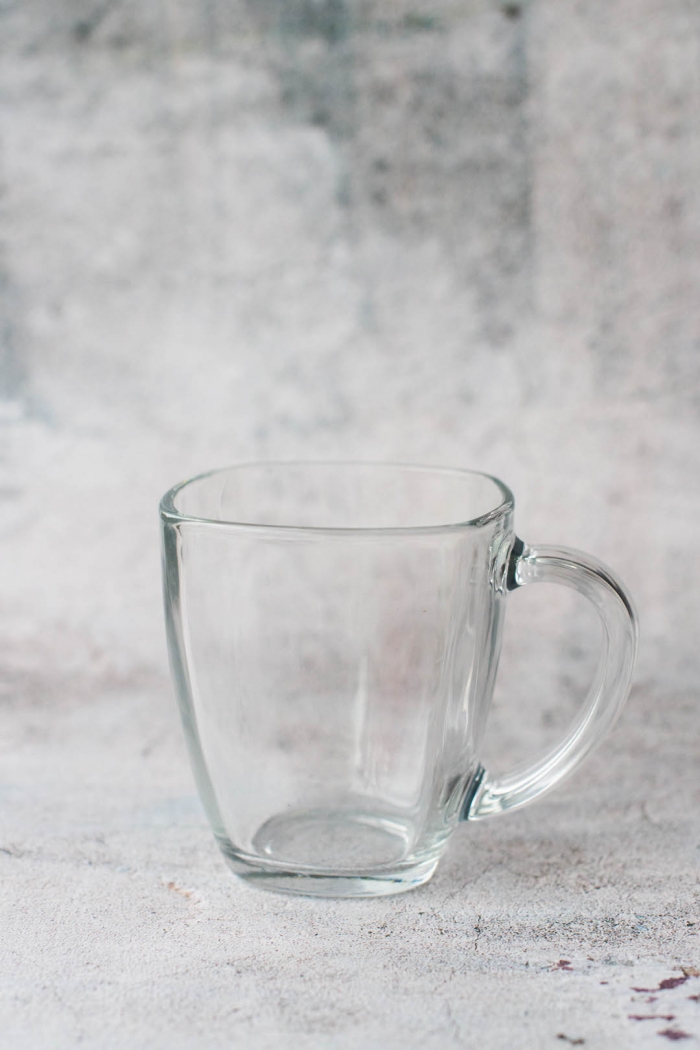
12 oz Clear Mugs
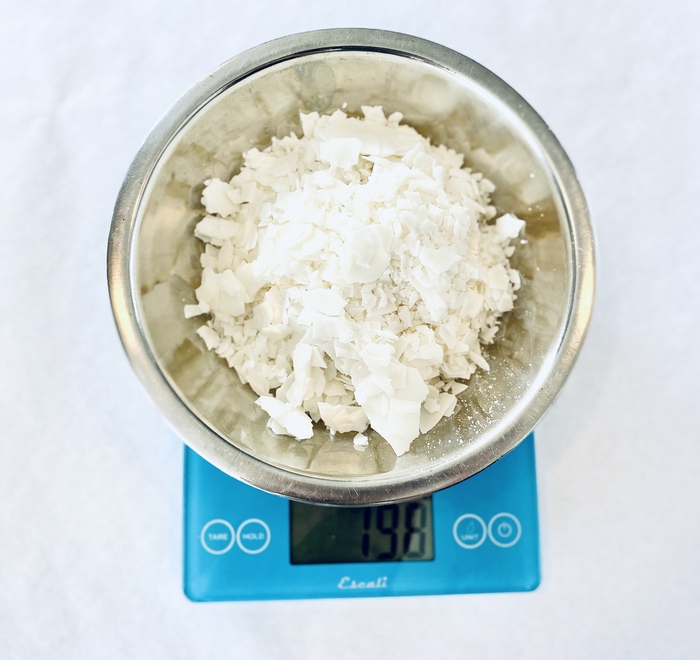
Soy Wax flakes (300 grams per candle. We used 464 soy wax.)
Fragrance oil or essential oil (20 grams per candle. We used gingerbread scent.)
SVG File with Holiday theme (With a Cricut Access Premium Membership, you will have access to 200,000+ SVG files)
Eco 12 wicks
Wick Stickers
Scissors
Scale
Double Boiler
Bamboo Skewers
Rubbing Alcohol
Paper Towel
Here’s how to make your DIY Wedding Favor Candle Mugs using a Cricut machine:
Clean the front of your mug with rubbing alcohol. This will help your vinyl cut-out adhere to the glass.
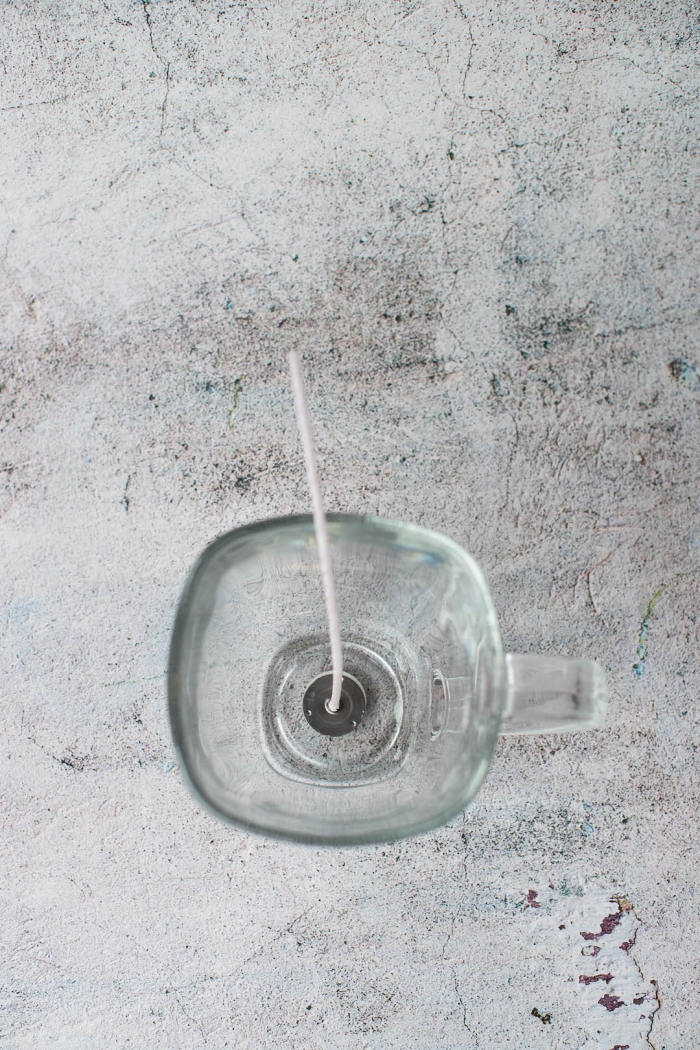
Place wick sticker on bottom of wick. Centre wick and adhere to bottom of mug.
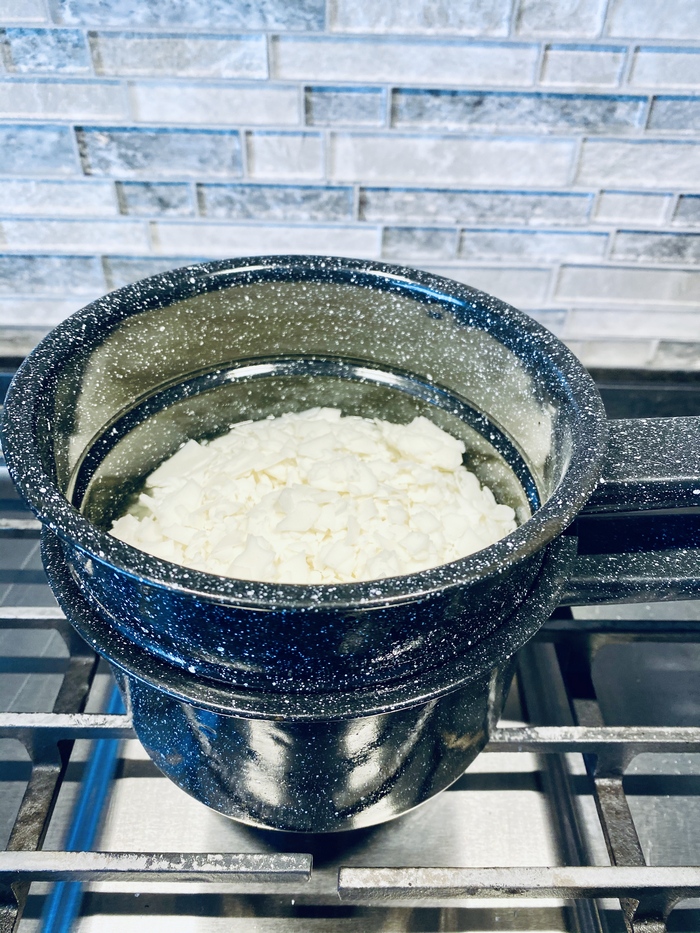
Weigh the soy wax. You will need 300 grams per 12 oz candle.
Add water to bottom pot of double boiler. Place your wax on the top pot of a double boiler. Keep heat on low to medium and let wax melt. Soy wax has a low melting point, so it won’t take long.
Once wax has melted, remove from heat.
Let cool for several minutes until temperature is between 100-120 F.
Meantime, pour your essential oils or fragrance oils into a container and weigh them. You will need 20 grams per candle. We usually wait until the wax has cooled to 100 degrees and appears milky before we add the essential oil. Through trial and error, we have learned that this method will help to prevent sink holes (trust us, sink holes are the devil!)
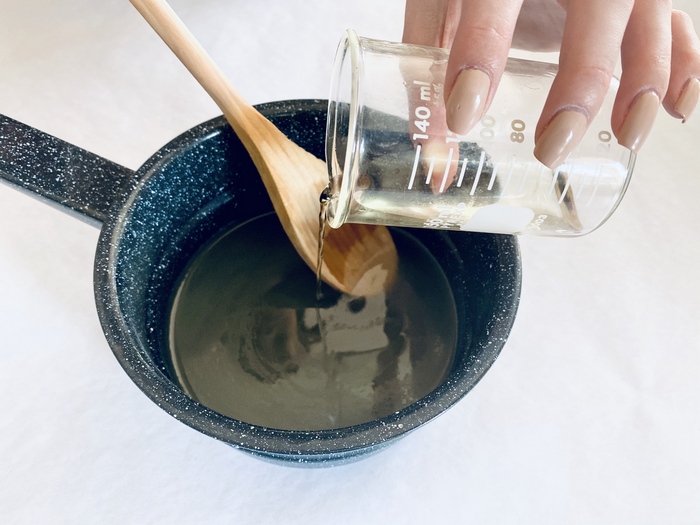
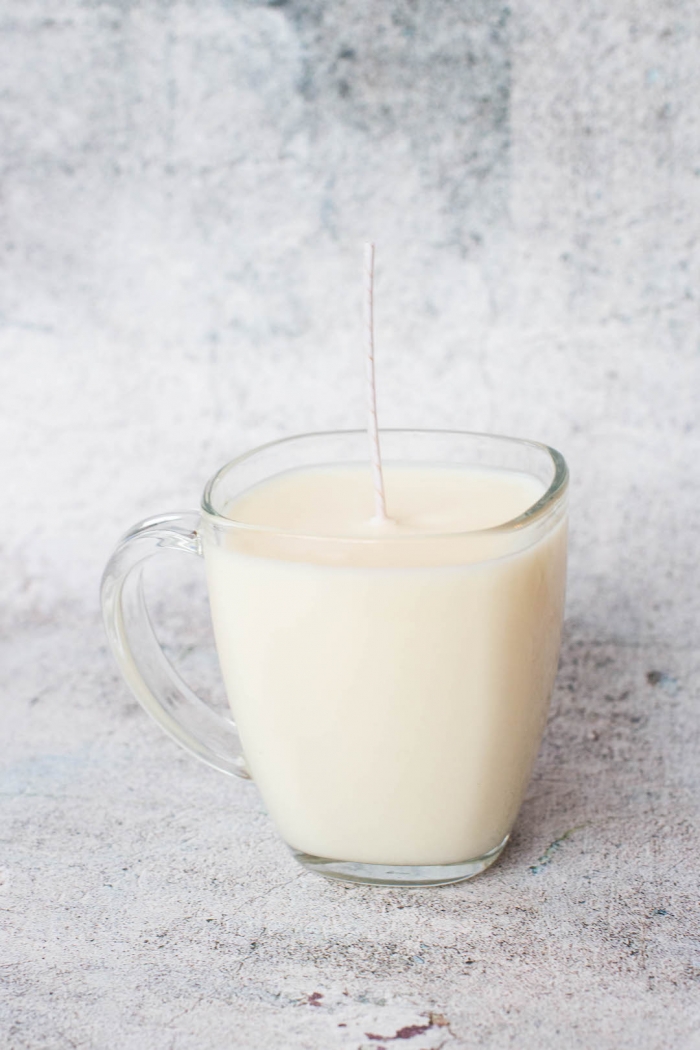
Gently stir the essential oil or fragrance oil into the wax, then pour the wax into your mugs.
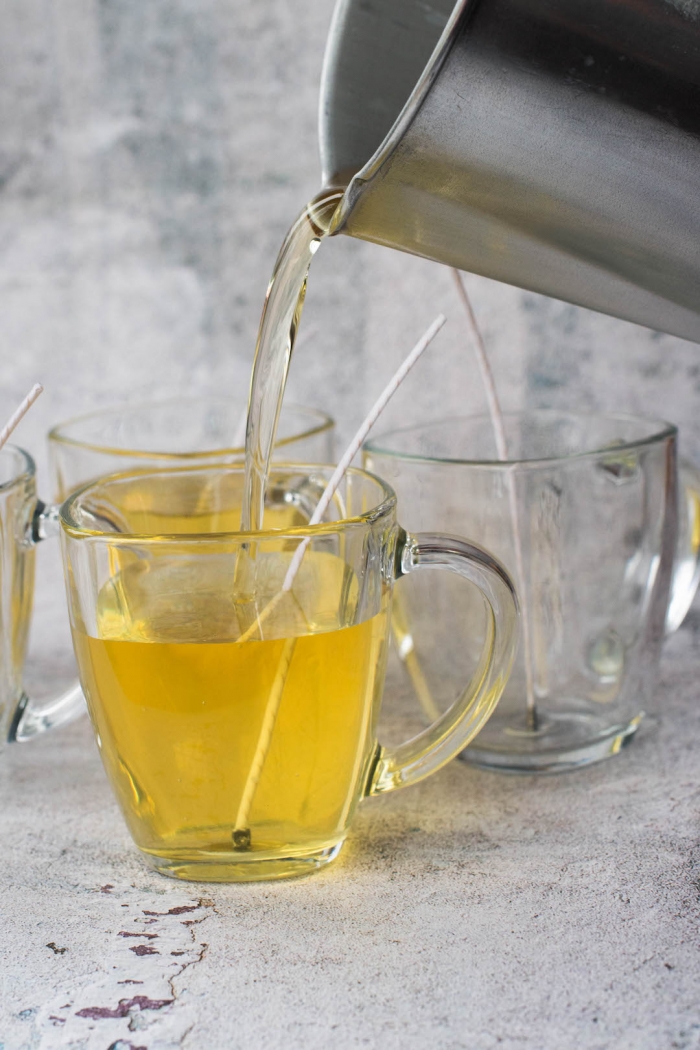
Add bamboo skewer to top of mug to keep wick centred.
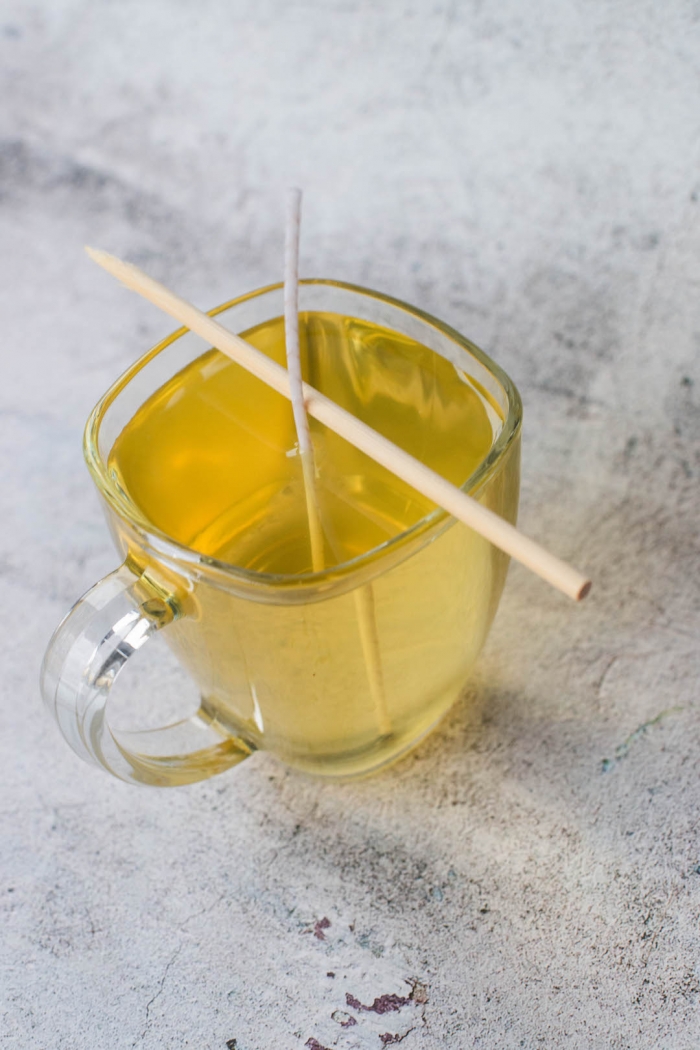
While the wax is cooling, wipe out your double boiler with a paper towel, then wash it with soap and water. We always recommend wiping it out first; you don’t want soy wax to harden in the pipes of your kitchen sink! Let the candle cool for several hours before trimming the wick.
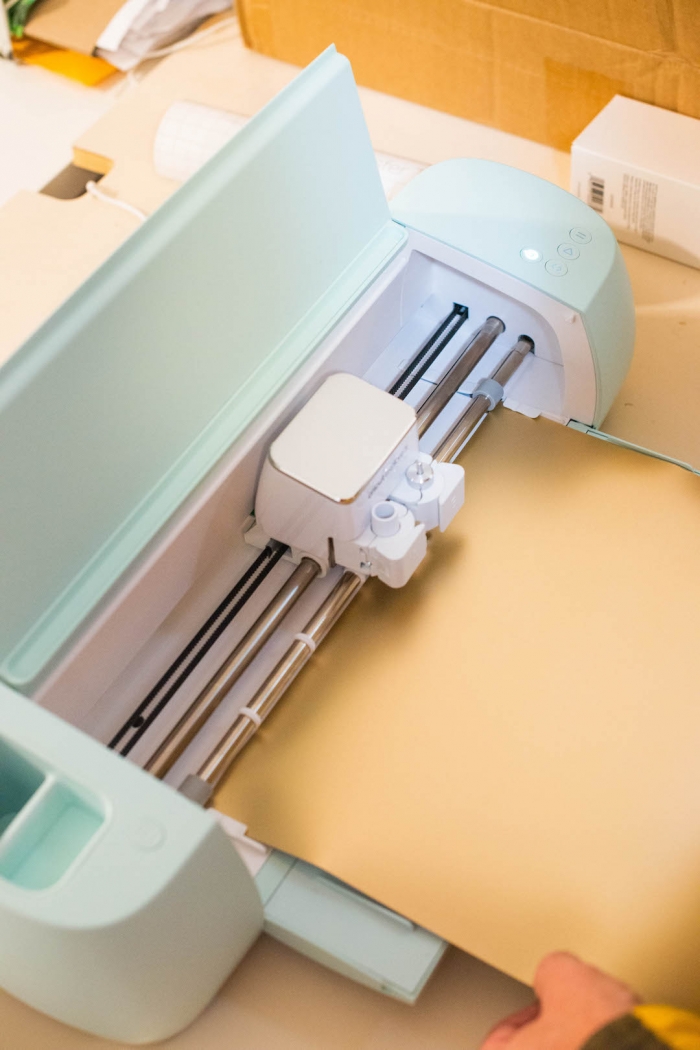
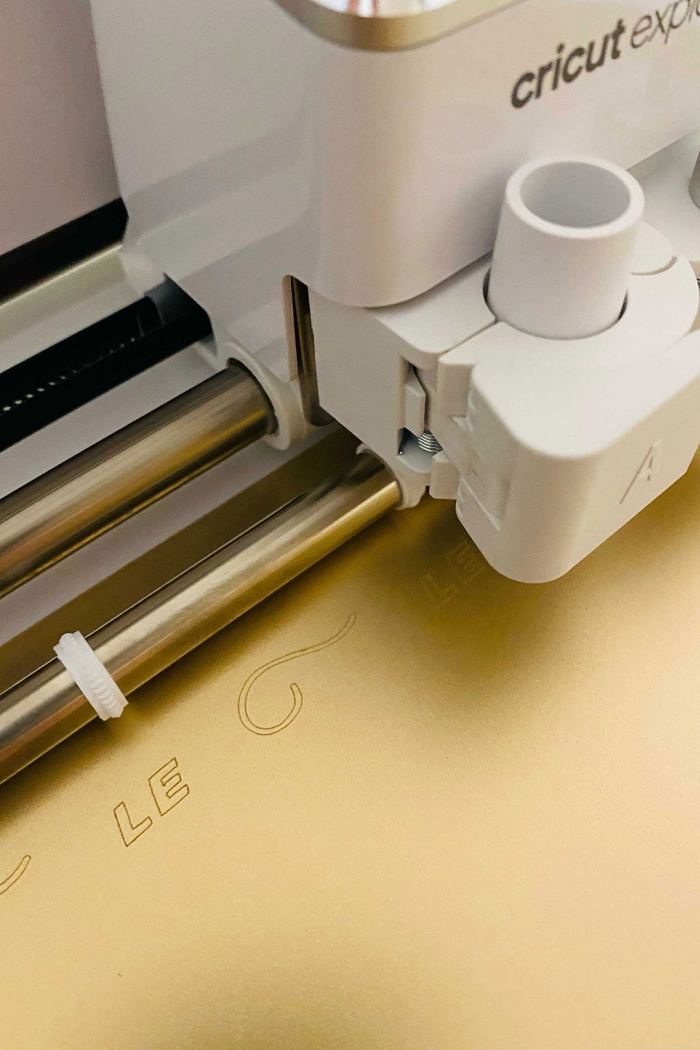
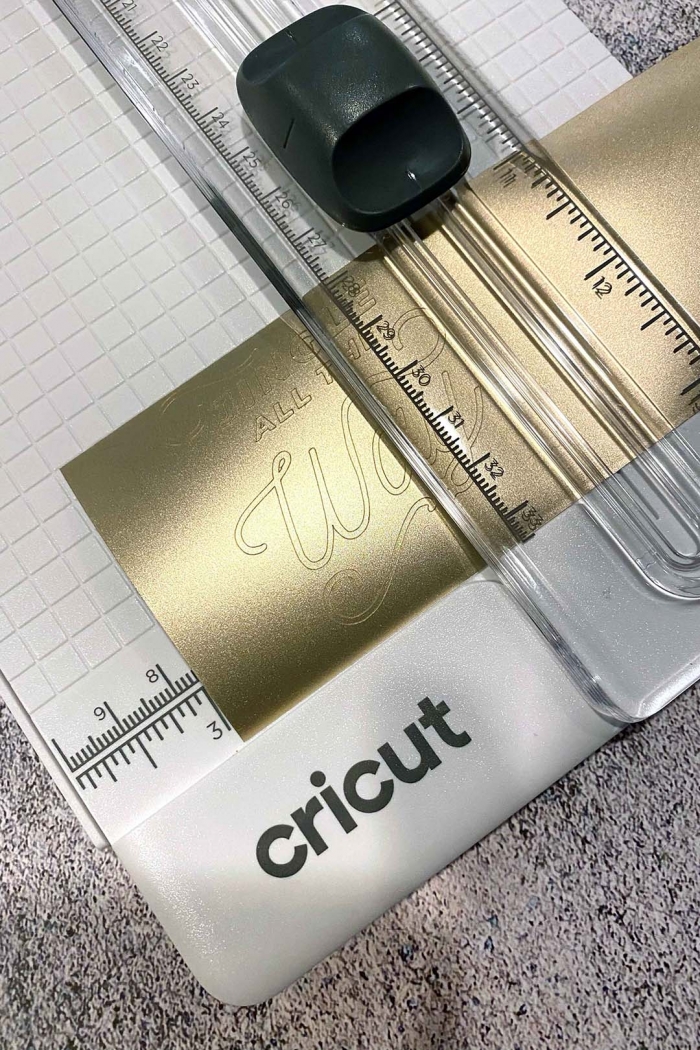
Set up your Cricut Explore 3 according to set-up instructions. Once set up has been completed, upload your SVG files to the Cricut Design Space. Measure the surface of your mug and size each design accordingly. Our designs were 5 cm x 5 cm. Insert Cricut Permanent Smart Vinyl into your Cricut machine. Follow simple instructions for cutting. Watch the magic happen!
While you are waiting for the designs to be cut, grab your handy dandy Cricut essential tool kit.
Once your designs are ready, remove vinyl from machine. Cut designs using Cricut cutter.
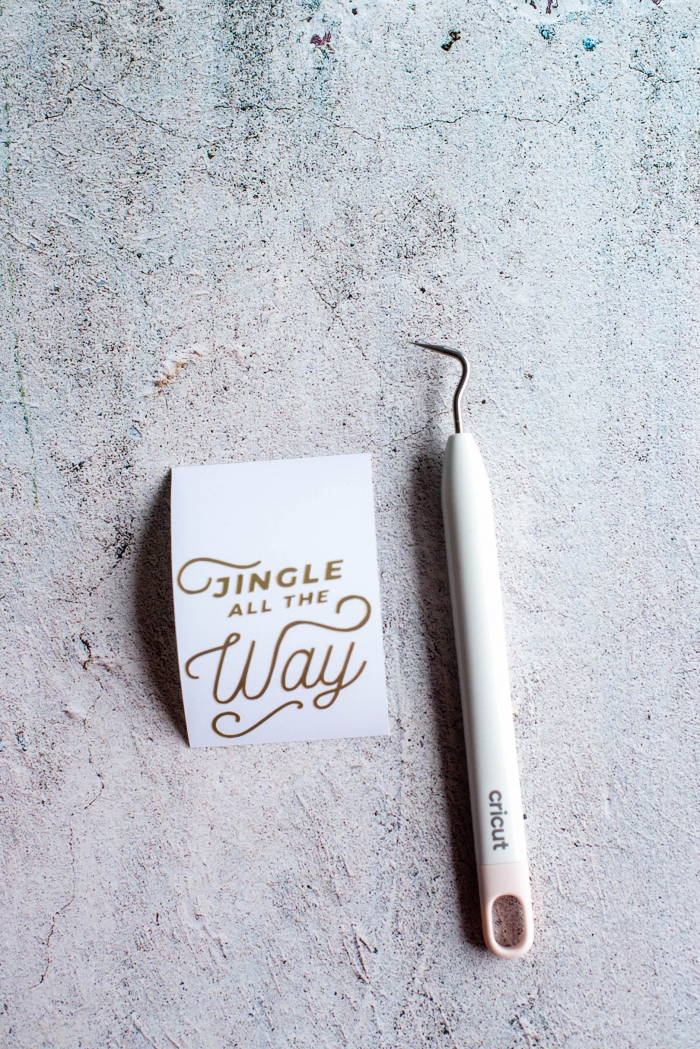
Use Cricut weeding tool to carefully remove the excess vinyl from the backing.

Cut out a piece of transfer tape the same size as your design. Remove backing. Place transfer tape over design, sticky side down.
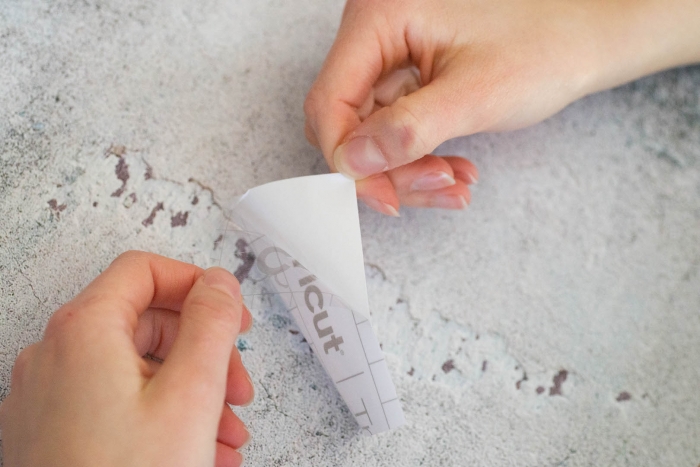
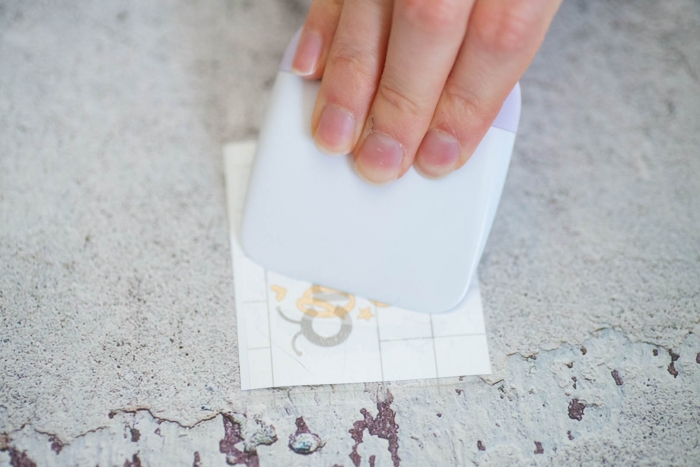
Using scraper tool, smooth over transfer tape so that it adheres to your design. Use scraper tool on both sides of your design.
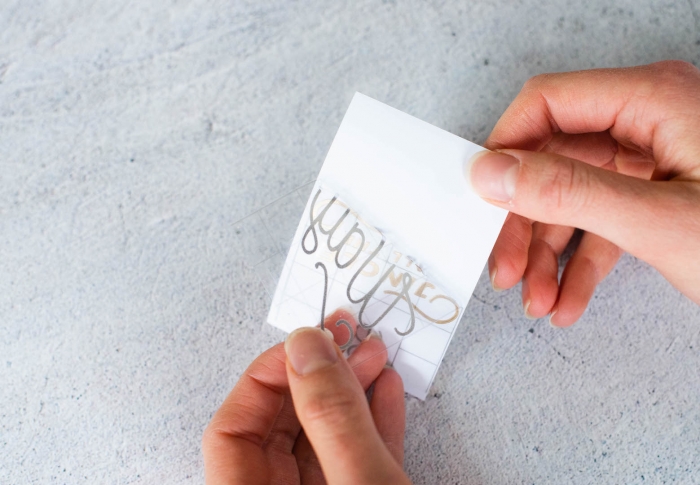
Carefully remove transfer tape from backing.
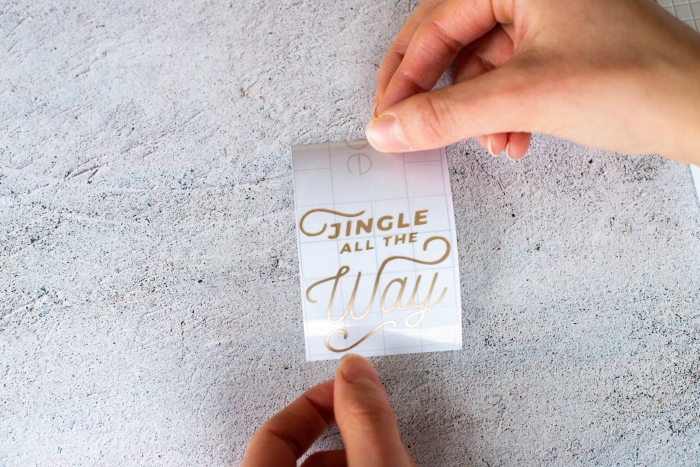
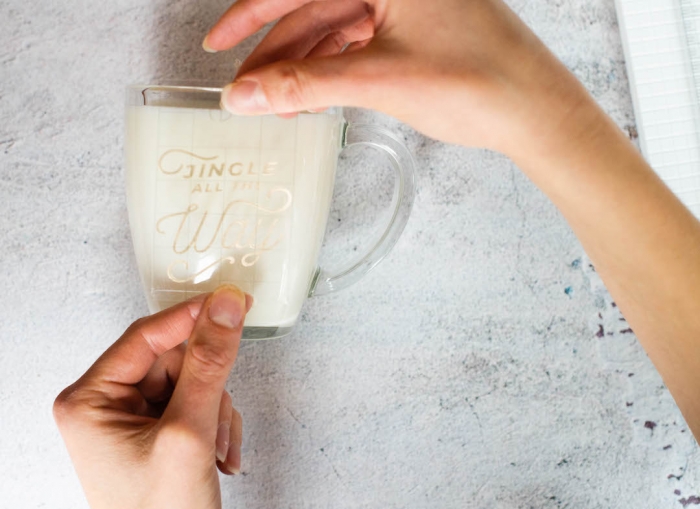
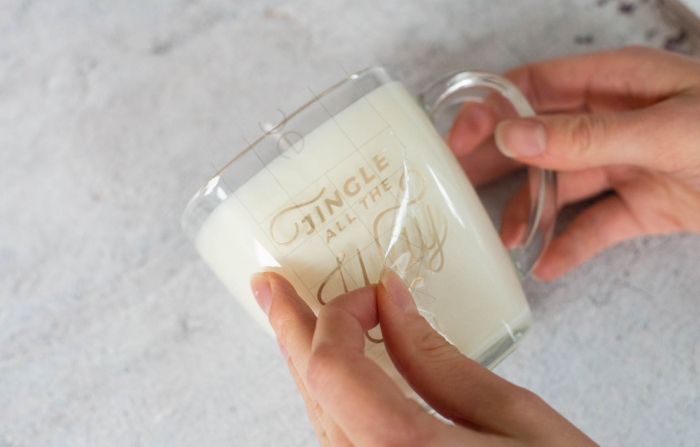
Position design onto mug and adhere to glass. Carefully pull away transfer tape.
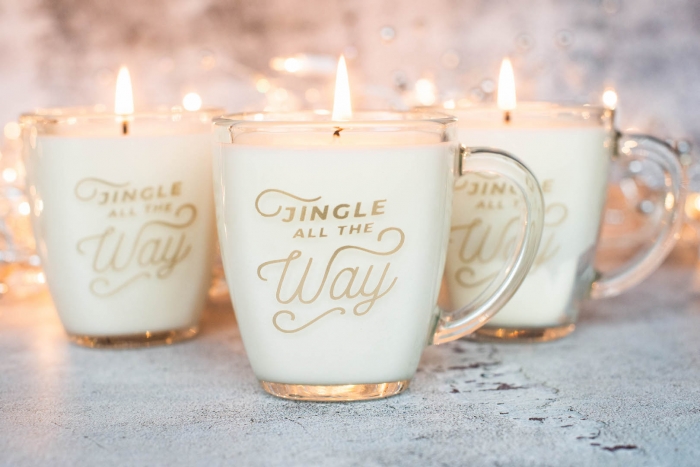
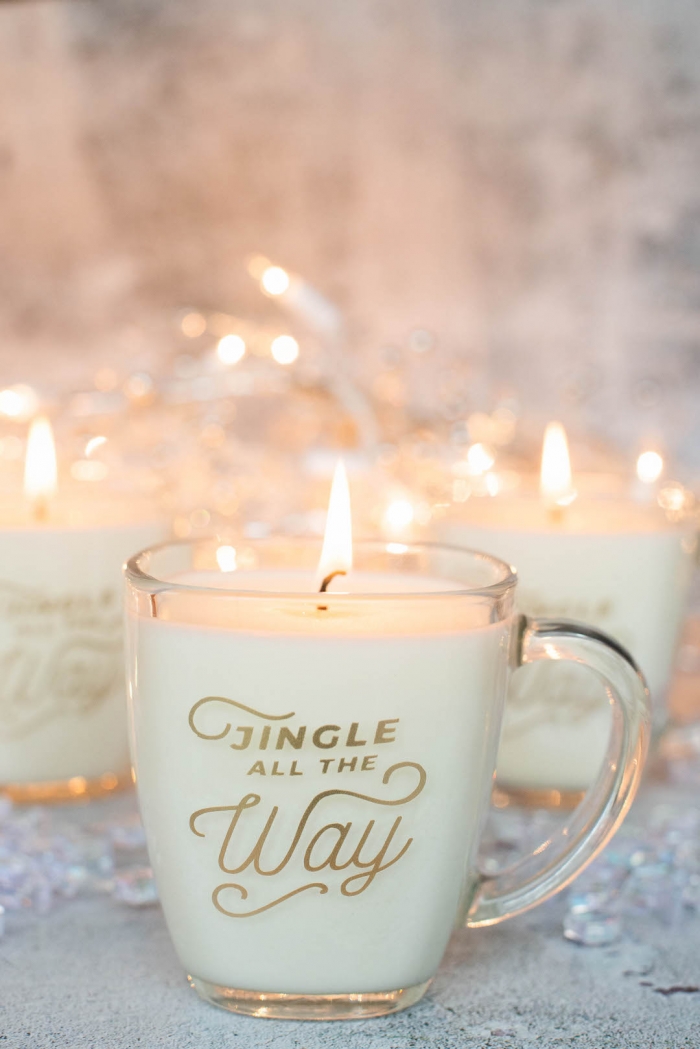
Cut wick – and enjoy your beautiful mug candle wedding favors!
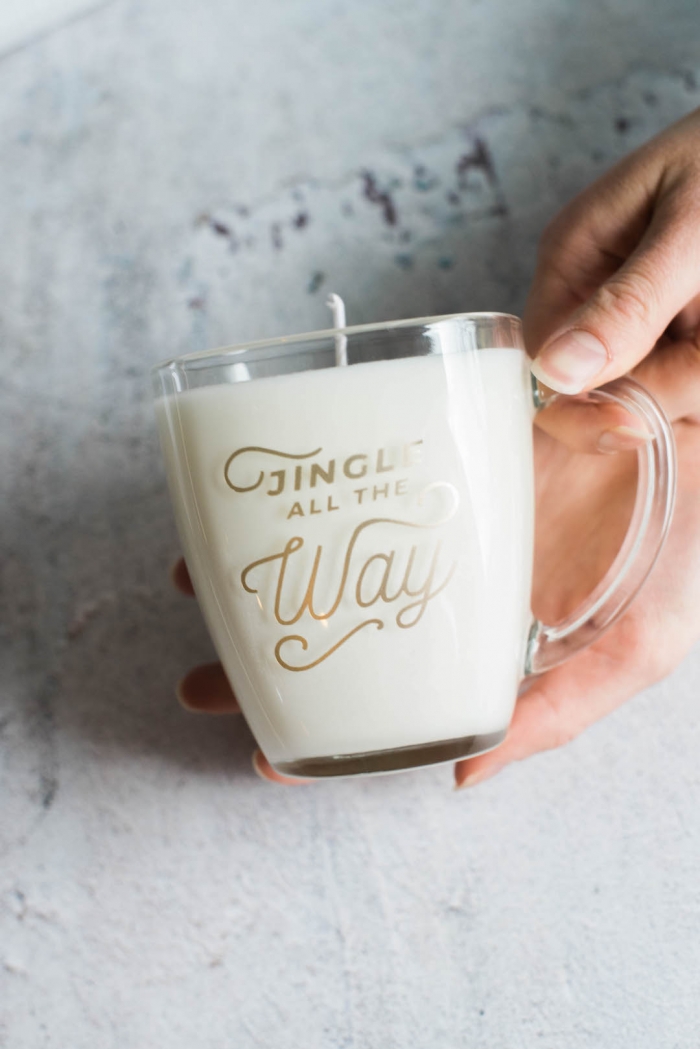
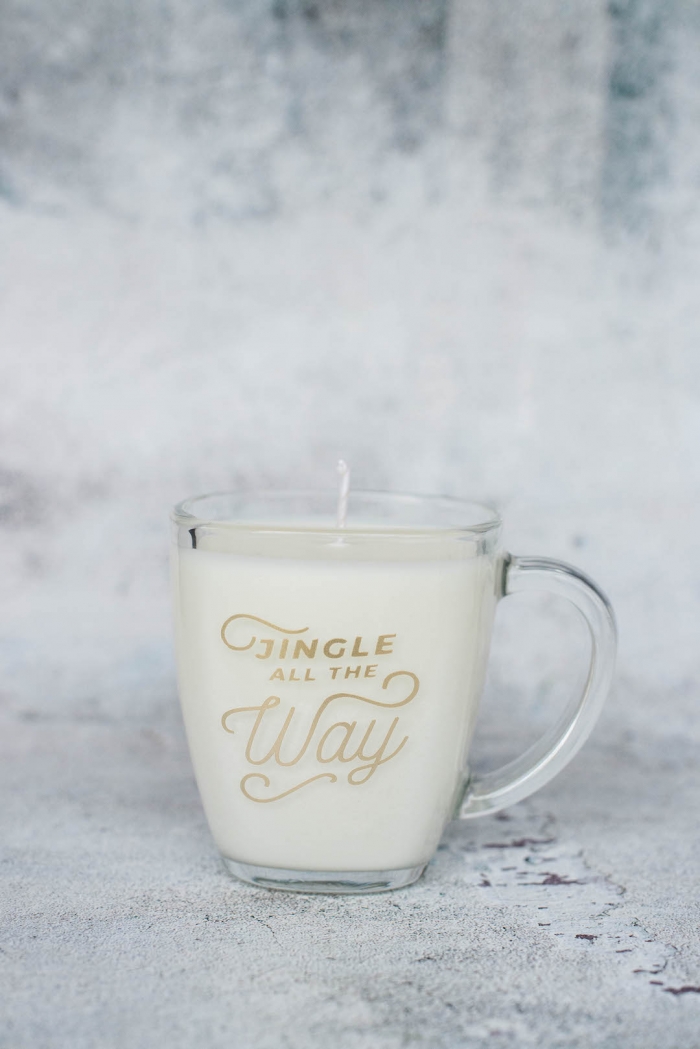
Who wouldn’t love to receive these candles as winter wedding favors?
*Sponsored Post.