


Intimate Weddings was invited to participate in the “Say ‘I Do’ with Xyron and Anna Griffin” blogger design challenge. Our task was to come up with a DIY menu and place card setting design using products that were provided to us from Xyron and Anna Griffin.
You can vote for our project here.
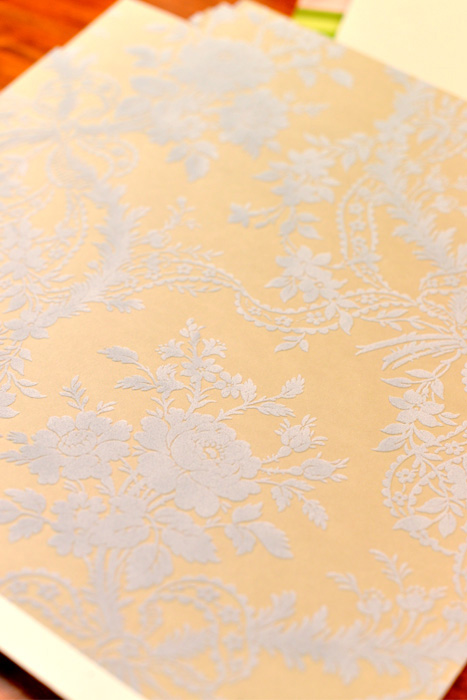
There were so many gorgeous papers, cut-outs, embellishments and other fun craft supplies that arrived at our doorstep, it took us a full day just to decide on which products to use. If you haven’t seen Anna Griffin’s stationery, you must take a look! It is perfect for DIY wedding invitations, as well as a myriad of other wedding-related projects. The paper designs are inspired by antique textiles and prints and there is truly only one word to describe them: luxurious!
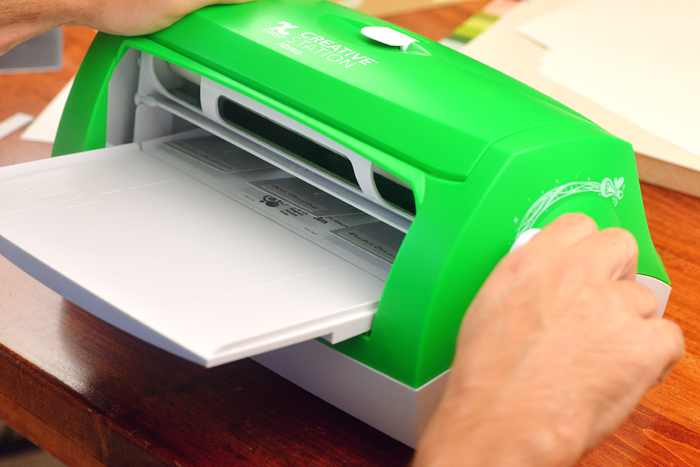
Xyron’s Creative Station is also a handy item to have if you are crafty type. Not only does it make magnets and stickers, it also laminates your projects. We used the Xyron Creative Station for our magnetic name cards (as you can see, we are Downton Abbey fans!). The beauty of making magnetic name cards is that when the wedding is over, they will end up on the fridge instead of in the garbage.
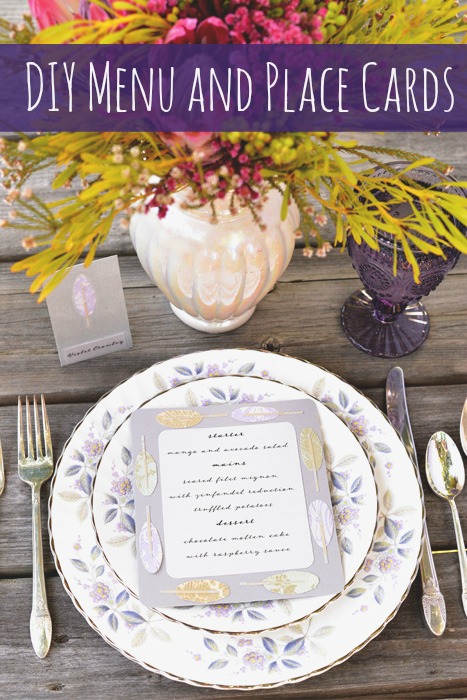
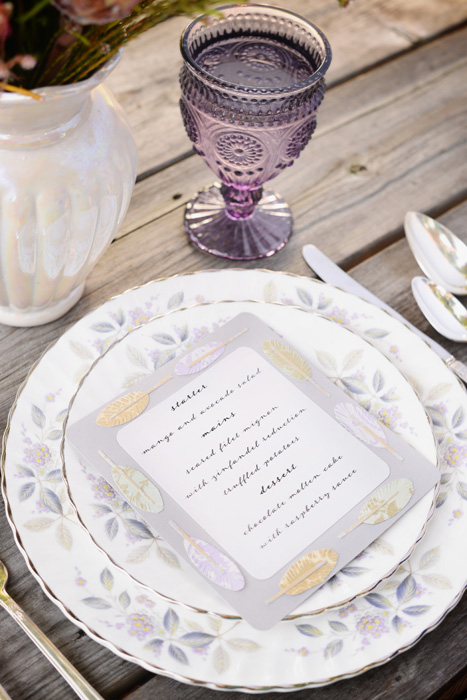
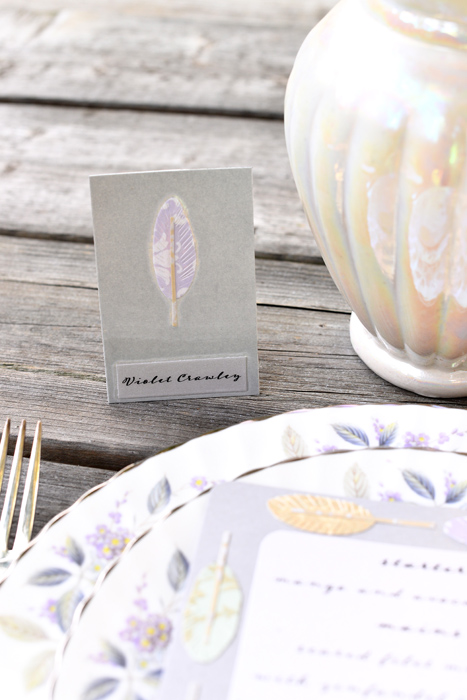
For both the menu and the name cards, we created a feather motif using Anna Griffin’s metallic paper and velvety floral paper.
DIY Feather Motif Menu Instructions
You will need:
- decorative paper from Anna Griffin collection
- paper from Anna Griffin Soft Hues Metallic Paper Kit
- rounded punch
- glue stick
- scissors
- paper trimmer
- printer (We used Adorn Garland font from Laura Worthington’s Adorn Collection. We highly recommend this font collection for anyone creating DIY wedding stationery!)
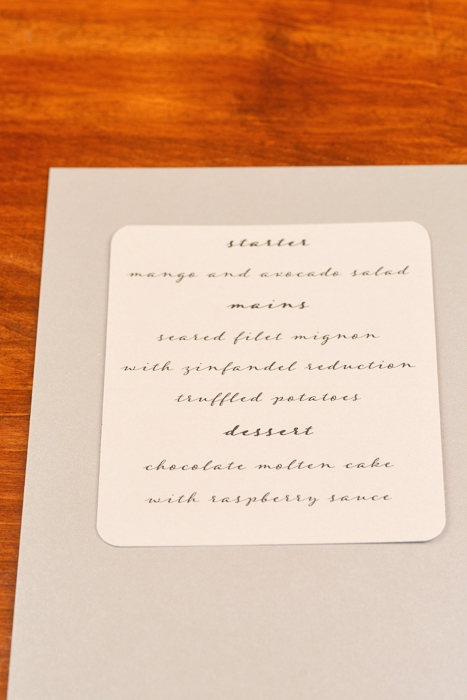
Print your menu on a piece of 8.5″ x 11″ Soft Metallic Hues Anna Griffin paper. Try to fit two on a page to conserve paper. Cut to 4.5″ x 4″.
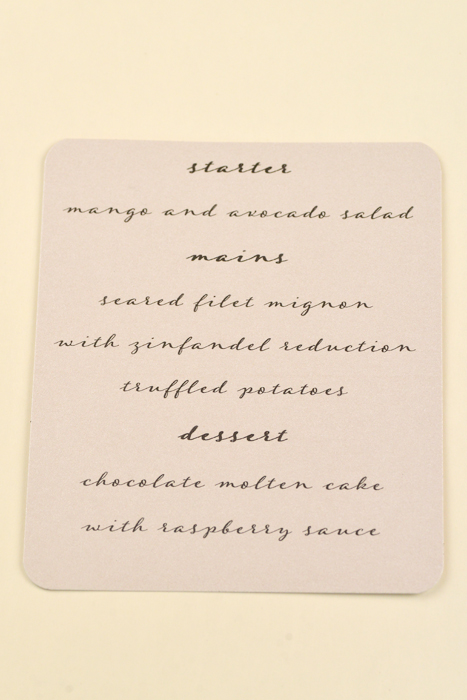
Place on another sheet of Soft Metallic Hues paper. We used a darker shade of silver. Leave a 3/4″border around the edges and glue menu onto paper.
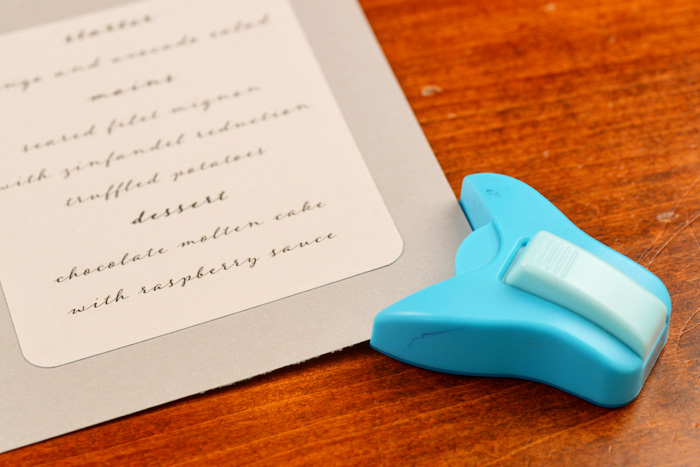
Round edges using a corner punch.
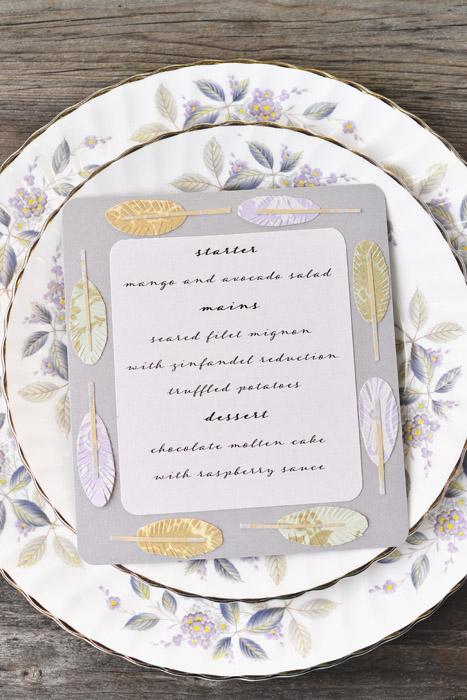
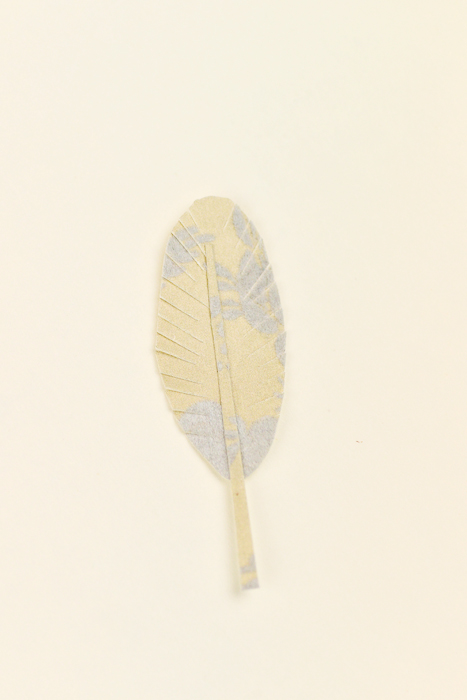
Choose your paper to create the feather motif.
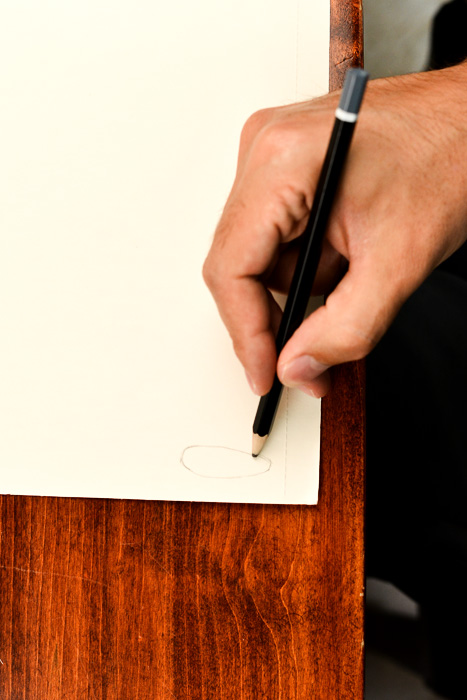
Draw a feather shape on the back of the paper. Our feather was 1.5″ x .5″.
Cut out shape and create a feather fringe around the outside.
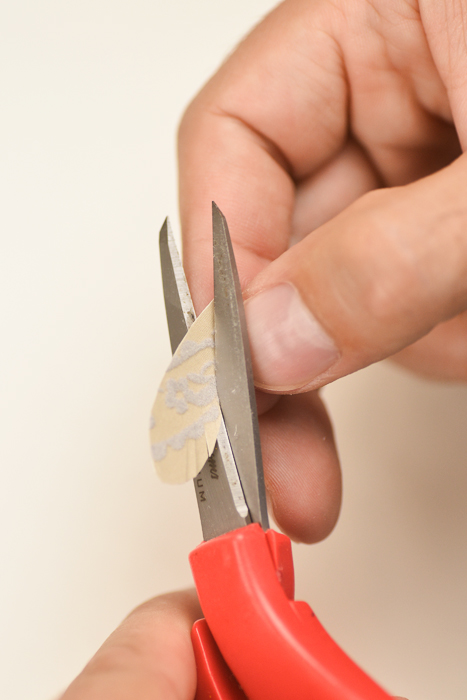
Cut out a thin, stem-like piece of paper and glue in the middle of the feather.
Adhere feathers around the border of the menu. We used eight feathers.
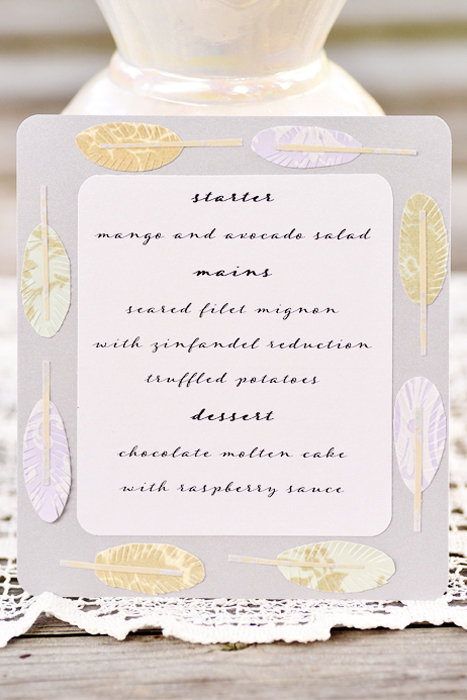
Lovely, isn’t it?
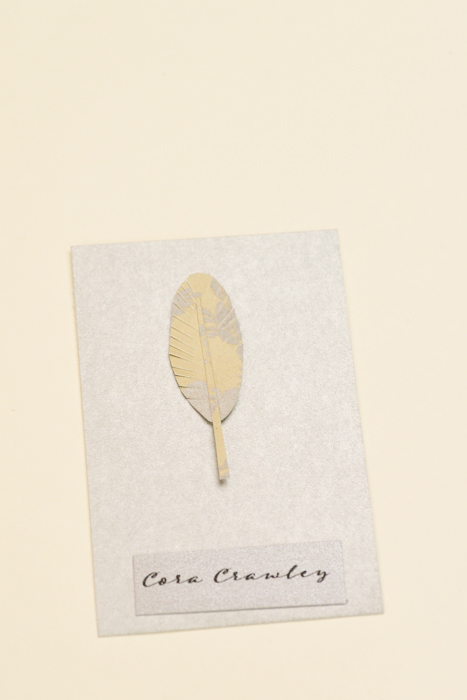
Now for the Feather Motif Escort Cards.
Glue paper feather onto a 2.5″ x 3.5″ piece of paper from Anna Griffin Soft Hues Metallic Paper Kit. Add name.
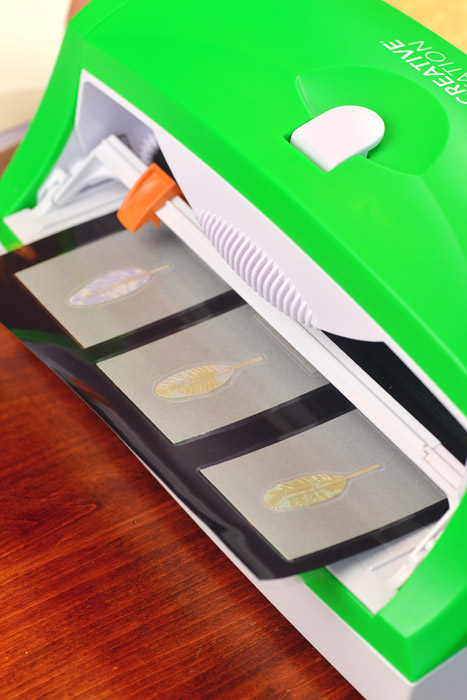
Place name cards (you can create three at a time) in the Xyron Creative Station and slowly turn the handle.
Presto! They are now laminated magnets! Cut around edges.
What do you think?
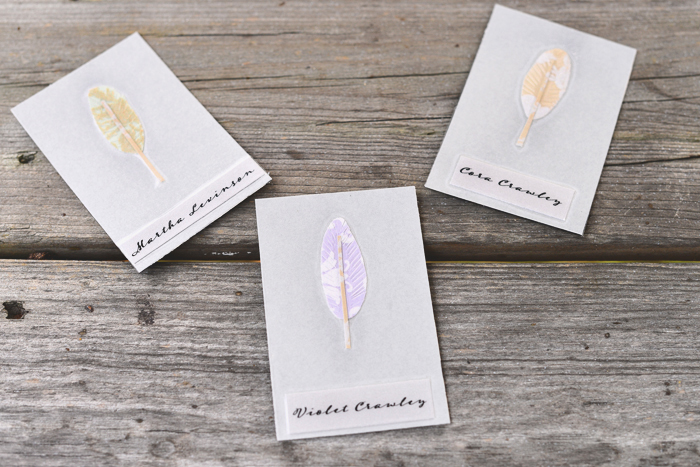
Our little ode to one of our favourite Downton Abbey characters: 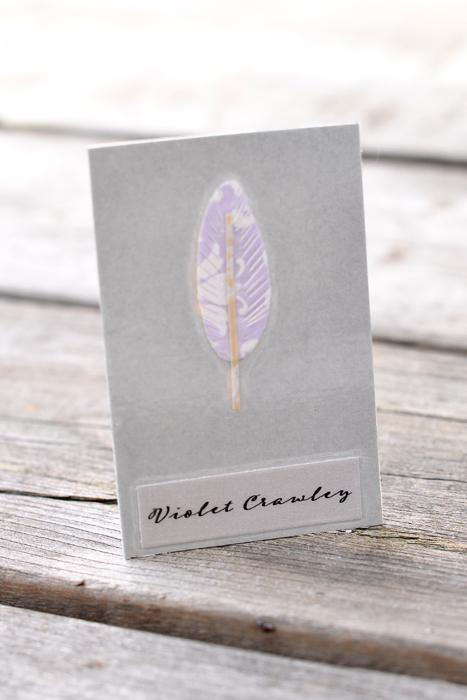
We’d love for you to vote for our project. Again, you can cast your vote here.
*Intimate Weddings did not receive monetary compensation for this post, but we did receive free products from Xyron and Anna Griffin to create this DIY project.