


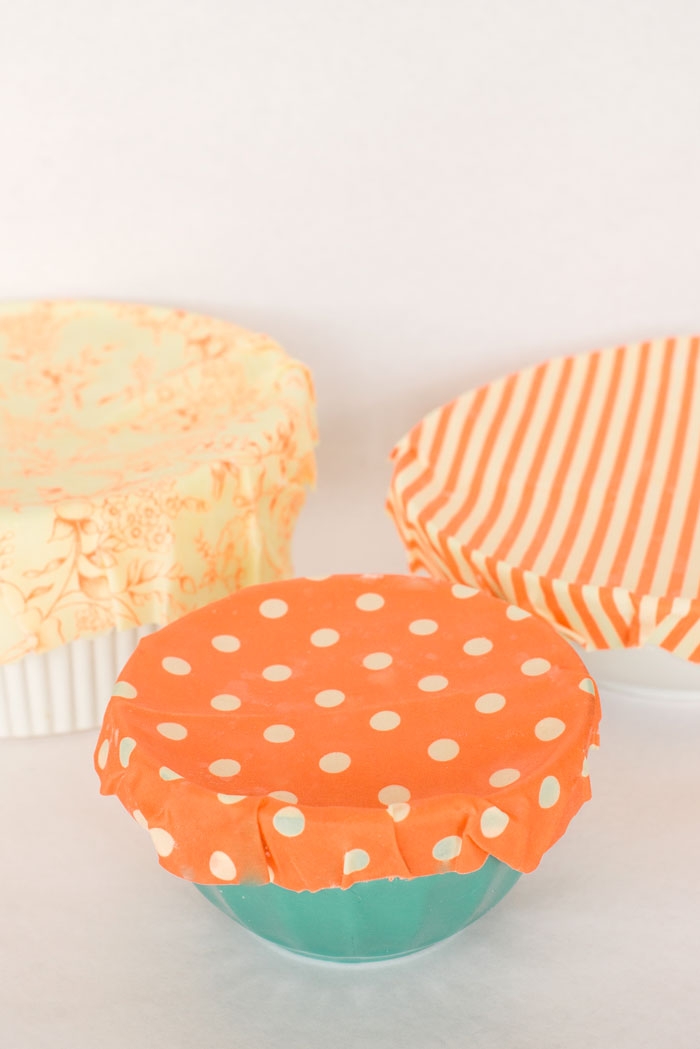
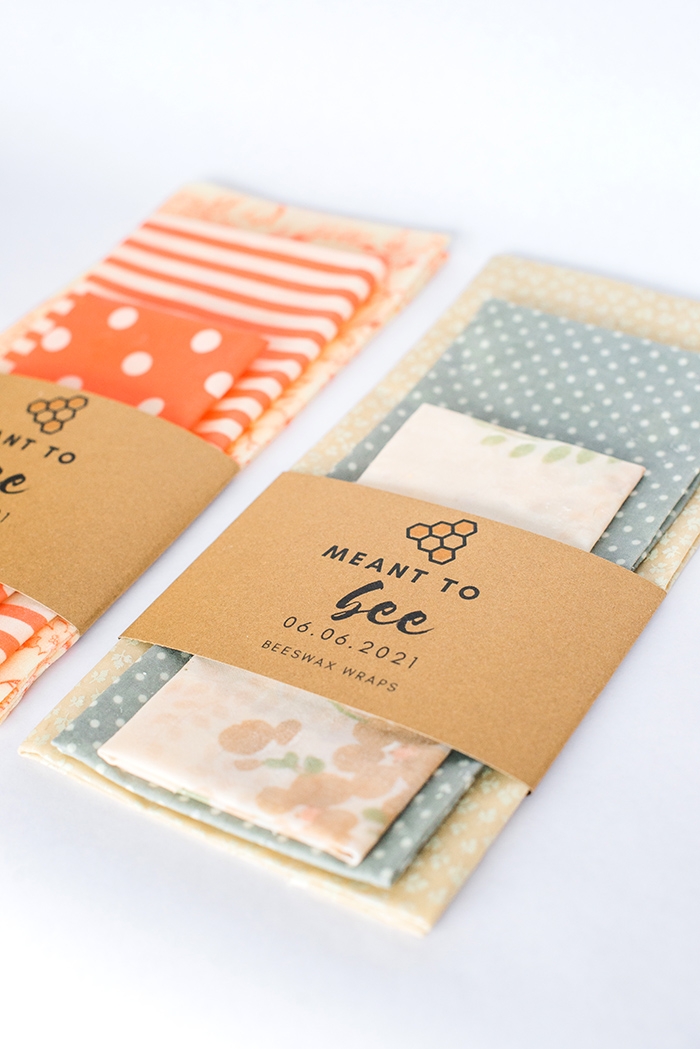
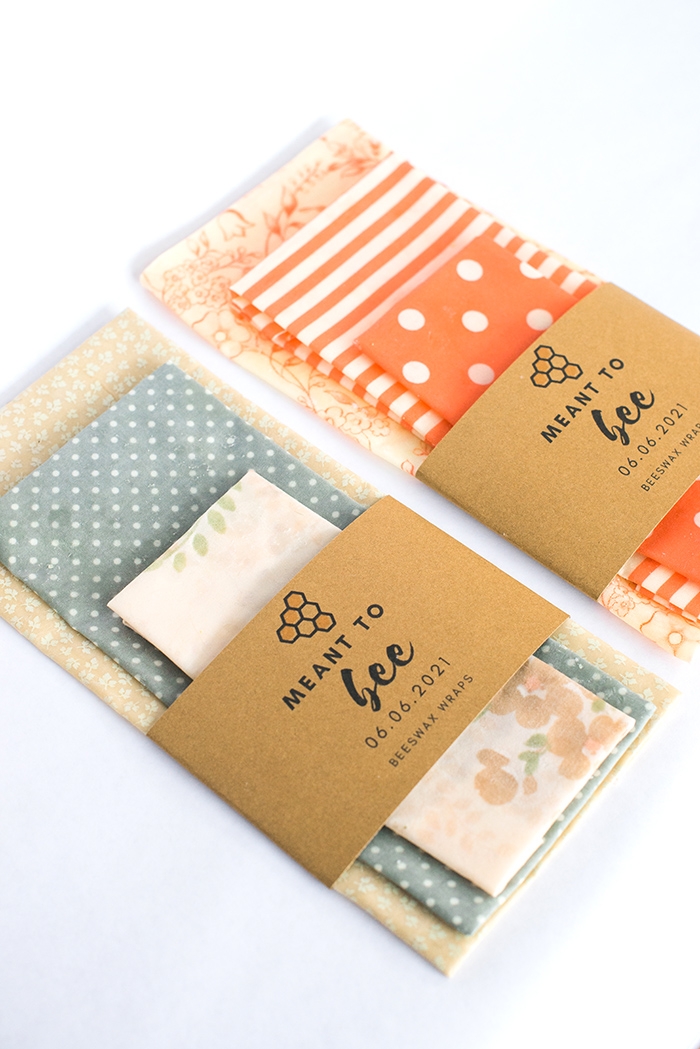
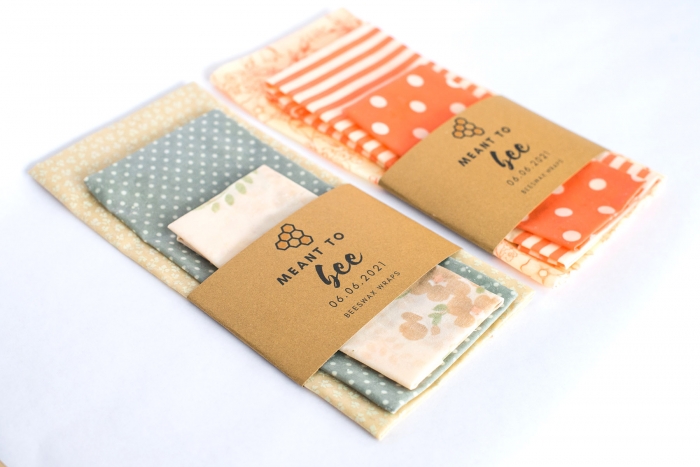
DIY beeswax wraps make the perfect eco-friendly wedding favors!
As more and more of us move away from single use plastic, the demand for eco-friendly alternatives has grown by leaps and bounds. Beeswax wraps are the perfect alternative to single use plastic wrap! Your guests will love these eco-friendly options, and you can feel good by promoting a more environmentally conscious lifestyle.
We used second-hand fabric to make these beeswax wraps even more environmentally friendly! Search second hand stores for cotton fabric that you can use for these favors.
Tips for Making DIY Beeswax Wraps
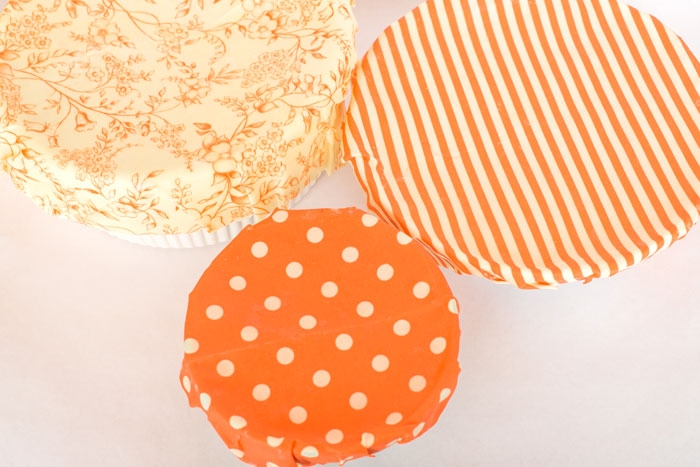
- We recommend using cotton fabric that has a pattern. We made a few beeswax wraps with solid colors and they did not turn out as well as they turned out ‘splotchy’. Cotton vintage bed sheets work perfectly!
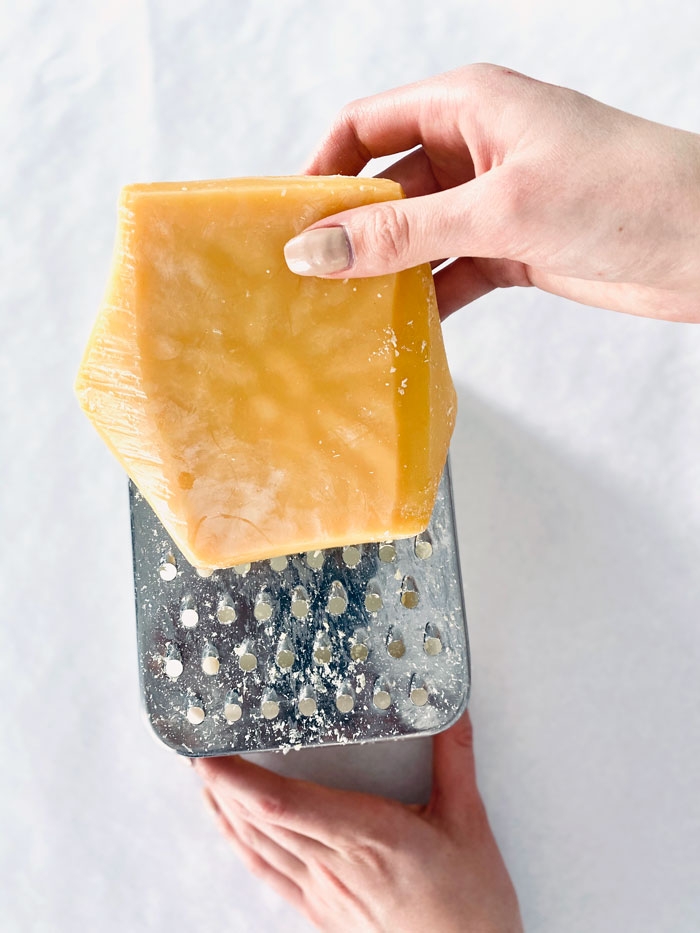
- If you are using a solid chunk of beeswax, place it in the freezer first so it is easier to grate.
- If you can get your hands on a rotary cutter, it will make the process of cutting the fabric much quicker.
- Keep beeswax wraps looking new by placing them in the oven at 150 degrees. Let wax melt and remove wraps from oven. Let cool on hard surface.
- Do not use the wraps to cover meat. You don’t want any funky bacteria growing on your wraps.

DIY Beeswax Wraps Recipe
(Makes four sets of beeswax wraps)
2 Cups (150 grams) Shredded Beeswax or Beeswax Pellets
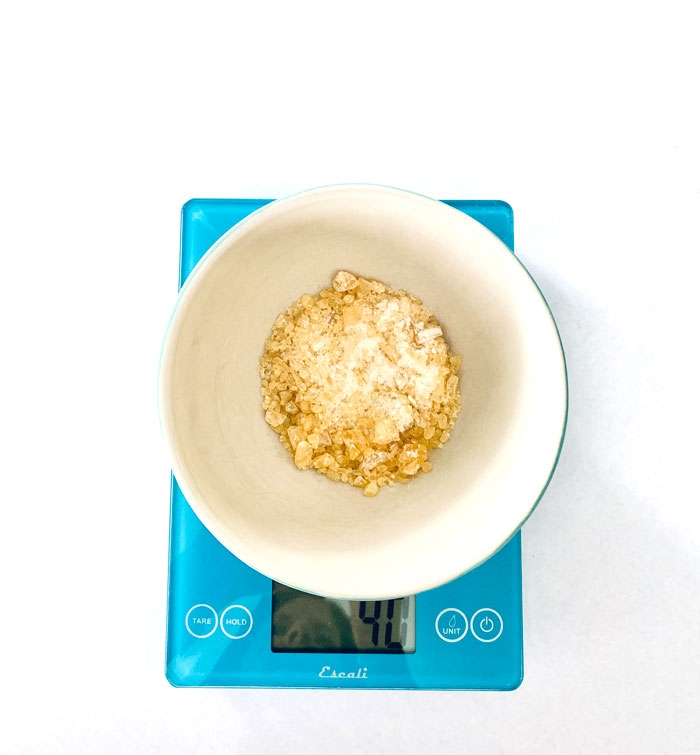
12 tbsp (40 grams) Food Grade Pine Rosin
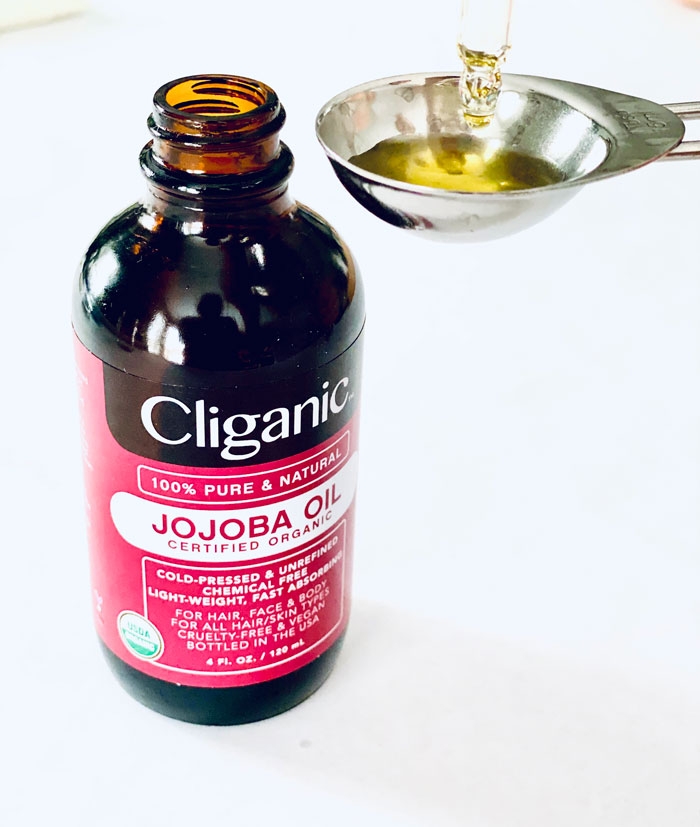
60 ml Organic Jojoba Oil
You will also need:
An iron
Parchment Paper
Scissors or Rotary Cutter
Cotton fabric
DIY Beeswax Wraps Instructions
Cut your fabric. If making groups of three, cut the following sizes:
Small – 8 x 8 inches
Medium – 11 x 11 inches
Large – 14 x 14 inches
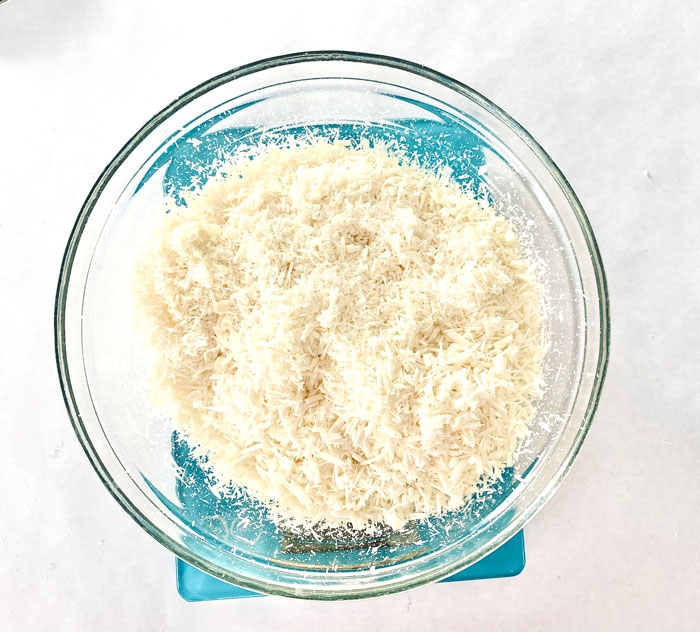
Grate beeswax.
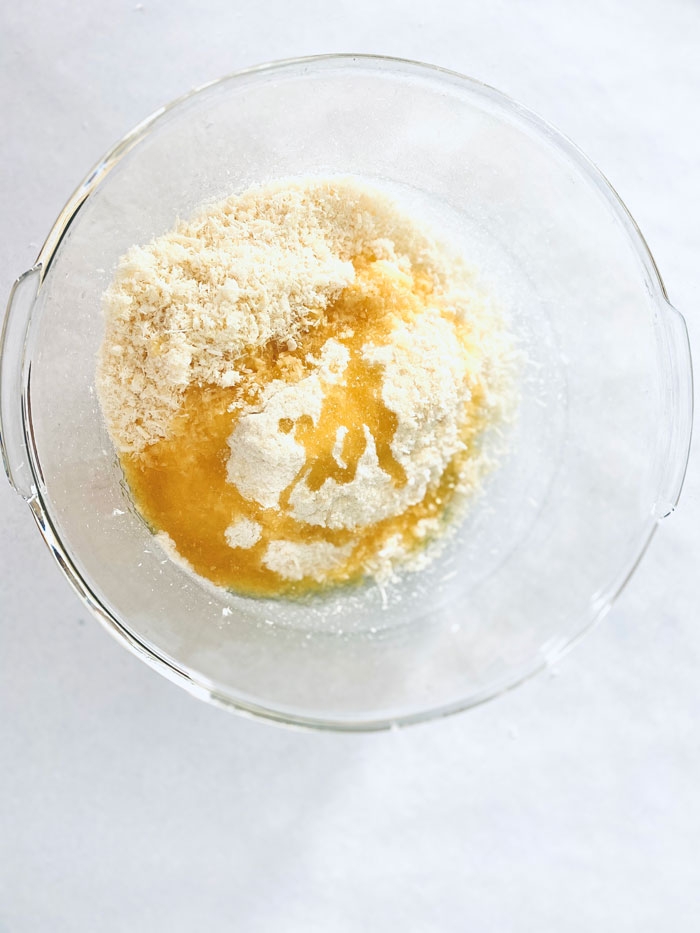
Measure jojoba oil.
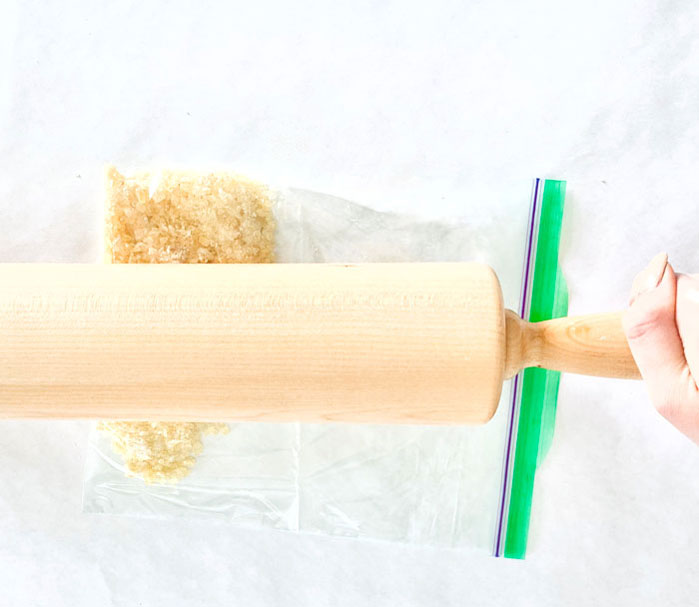
Use a rolling pin to grind pine rosin into powder. The finer, the better!
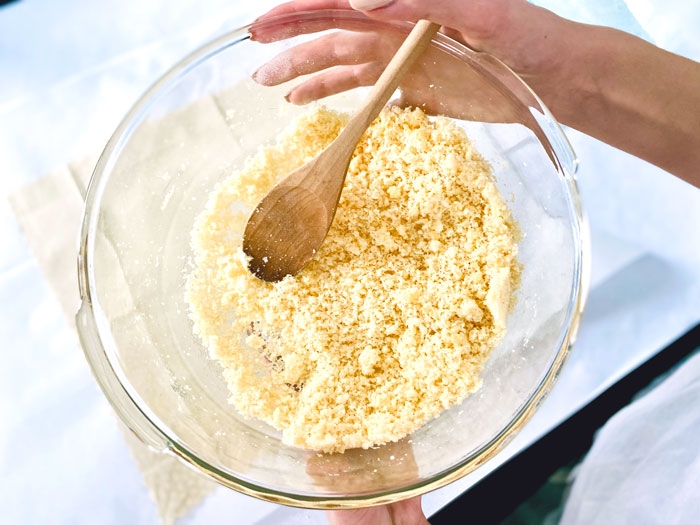
Place beeswax, jojoba oil and pine rosin in a bowl and mix with a wooden spoon.
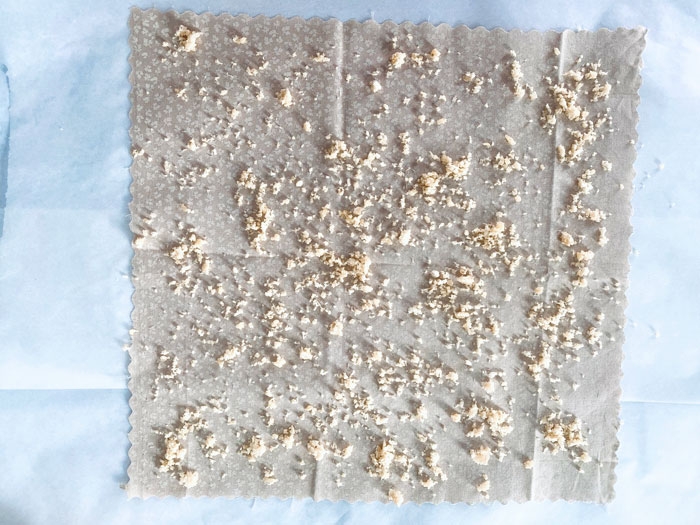
Place a piece of parchment paper below your fabric. Sprinkle mixture onto fabric.
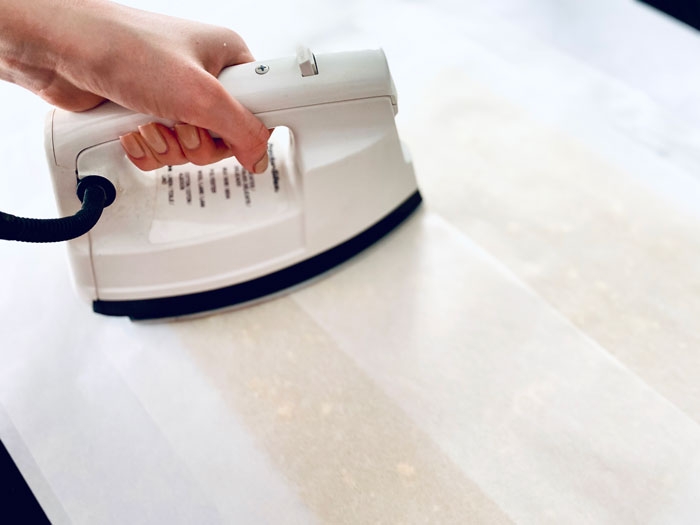
Place another piece parchment paper on top of fabric. Iron (on low) over your parchment paper until wax is melted. Add more wax mixture to fabric so that the fabric is evenly coated. You will only need to do this to one side of the fabric.
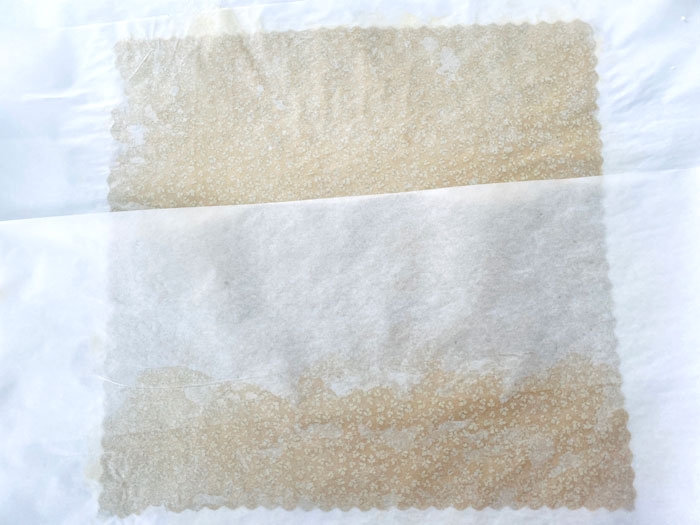
Remove parchment paper and let cool.
Leave to set for several hours before folding and adding your labels.
Open the 3″ x 11″ DIY Beeswax Wraps Wedding Favor Labels in Canva.
Click on File found on the status bar.
Select Make a copy. This will open a new window with the copy of your design saved to your account.
Now you can go ahead and edit the text in in Canva.

Add label to beeswax wraps. Use two sided tape to adhere label.
Now your wedding favors table will be ‘buzzing’ with happy wedding guests!

*post includes affiliate links.